How to clean your motorcycle helmet
Innuendos aside here is a step by step guide to cleaning your lid
Link: 10 tips for a long-lasting motorcycle helmet
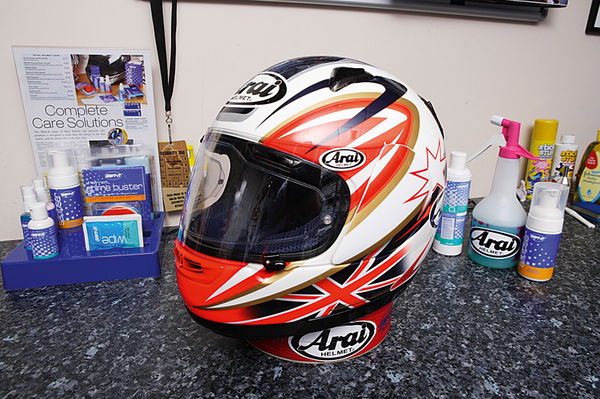
Cleaning your helmet is something we all think we can take care of, but do you really know how to do it properly? If you’re nodding your head smugly while reaching for the furniture polish and an old rag, think again. We’ll show you everything you need to know to maintain the life and looks of the most important piece of your riding clobber this summer.
Before we begin you will need:
- An old toothbrush
- A soft nailbrush
- Some cotton buds
- Four lint-free cloths
- A non-abrasive sponge
- Cleaning products

Step 1: Prep
First things first. Wash your hands, make sure all of your cloths are clean, the last thing you want to do is damage the paintwork on your helmet because a piece of dirt was hidden in a cloth. Lay out your tools on a clean work-surface, the kitchen side should do it. Take pictures of the inside and outside of your helmet if you need to, these will help when you are trying to put the thing back together again.
Step 2: Strip
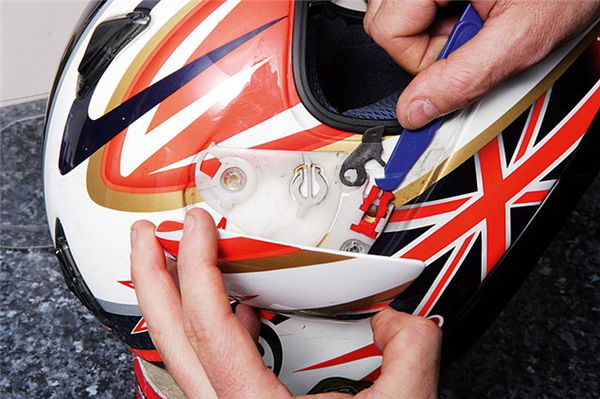
Strip down your helmet. We’ve used an Arai for this feature but the same rules apply to any make of helmet. Carefully remove anything that you know you can remove, if you are unsure consult the manual that came with your helmet. If like 99.9% of bikers you lobbed it in the bin get on the phone to the helmet manufacturer, ask for the technical department and find out what you need to do to strip it down. Don’t be too heavy handed, if it feels like it’s about to snap, it probably is.
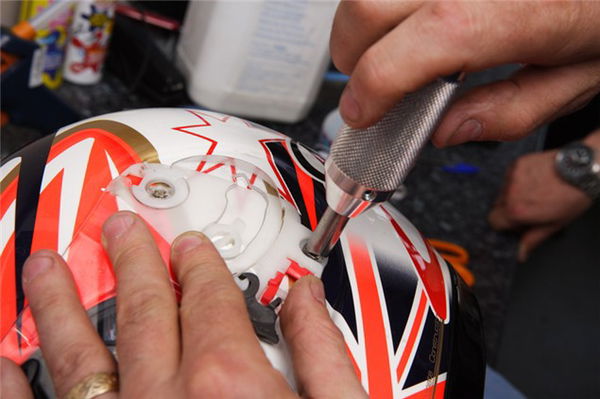
Step 3: Bare essentials
If you are confident you can unscrew and remove base plates etc, do so. Lay out what you have removed in the order you need to put them back in. Don’t get carried away and strip the thing down to nothing, just remove what you need.
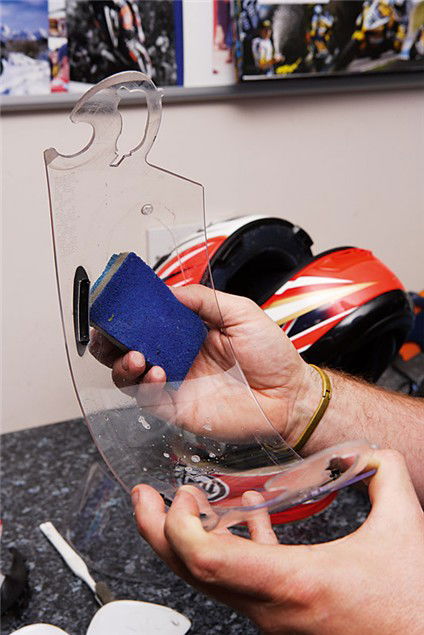
Step 4: Get wet
Most helmets have at least removable cheek pads, some will have fully removable linings. Once removed, soak them in warm water with a small amount of PH neutral baby shampoo. Massage all the parts thoroughly and then rinse. You’ll be horrified at the black slime that comes out. Lay a towel in the bottom of the sink or bath, rest your helmet on the towel and shower it out with warm water. Get the helmet soaked, add a little of the shampoo and work it into everything. Rinse thoroughly with cold water at least five times. Now put the helmet and any wet parts in front of a cool fan for half a day. Don’t be tempted to use a hairdryer or the airing cupboard.
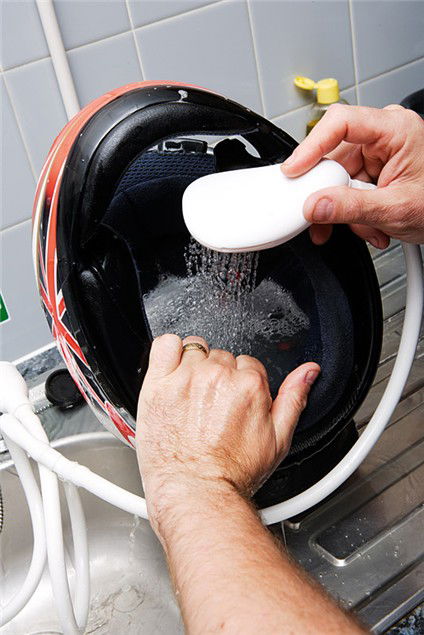
Step 5: Visor
Clean your visor with a non-abrasive cloth. Soak it in warm water and rub some mild soap solution into it. Use your fingers to remove the dirt if you can, it will reduce the chances of scratching the surface of your visor. Allow the visor to drip dry naturally, stood up. Take care with your visor if it has an anti-fog coating. Once dry carefully re-apply any anti fog coating.

Step 6: Clean
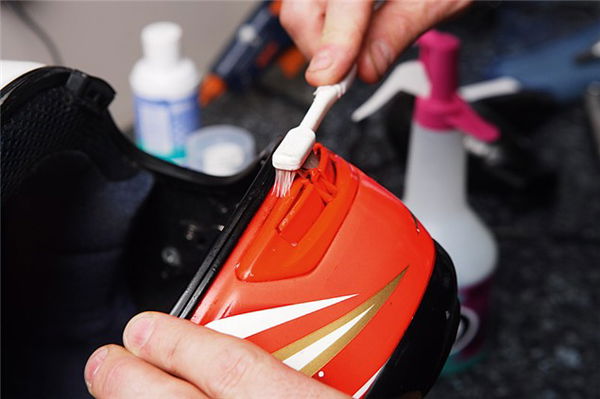
Clean the shell of your helmet with a non-abrasive cloth and some mild soap solution. Avoid using petroleum based cleaning products, they will eat into the lifespan of your helmet. Again, use warm water and be careful not to be too heavy handed. Use the cotton buds to get into the vents if you need to. Use the toothbrush or nailbrush in the hard to reach places, repeat the process two or three times. Cover up small stone chips with touch up pens designed for cars. This won’t completely remove the chip but will disguise it and will prevent water ingress, which will degrade the quality of your helmet over time.
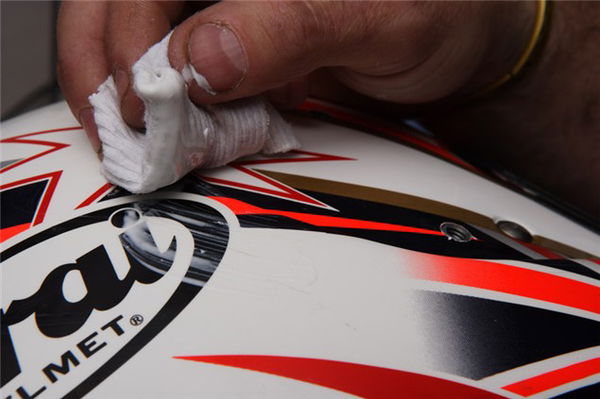
Step 7: Lube
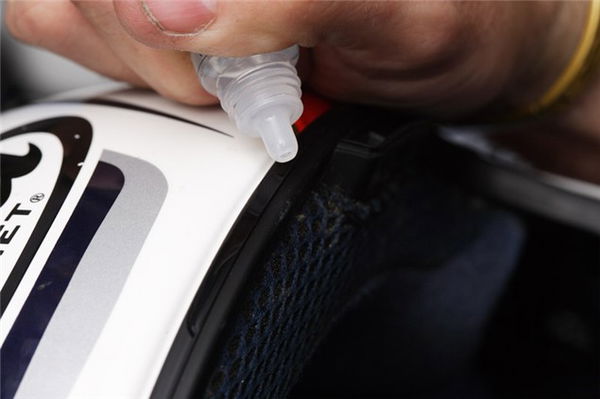
Lubricate the working parts of your visor mechanism with silicon grease, remember to wipe off any excess to prevent further damaging your helmet. You also need to lubricate the seal around your visor aperture. Do this sparingly and wipe away any excess.
Step 8: Re-assemble
Re-assemble your helmet (carefully). Take your time to reposition your visor properly. Baseplates on most helmets are adjustable, treat it like suspension. Try little and often until you get it right. Clean and replace side pods/covers. Ensure they are all properly reconnected to the shell, if you have any screws left over you have definitely done something wrong.
Step 9: Polish
Once rebuilt, polish the whole helmet with a suitable polish, do the visor as well. A mild abrasive is okay to use on the helmet. Lay it on fairly thick, leave to dry and then buff. A good layer of polish on the shell and visor will help water to bead and roll off easier in the rain.
