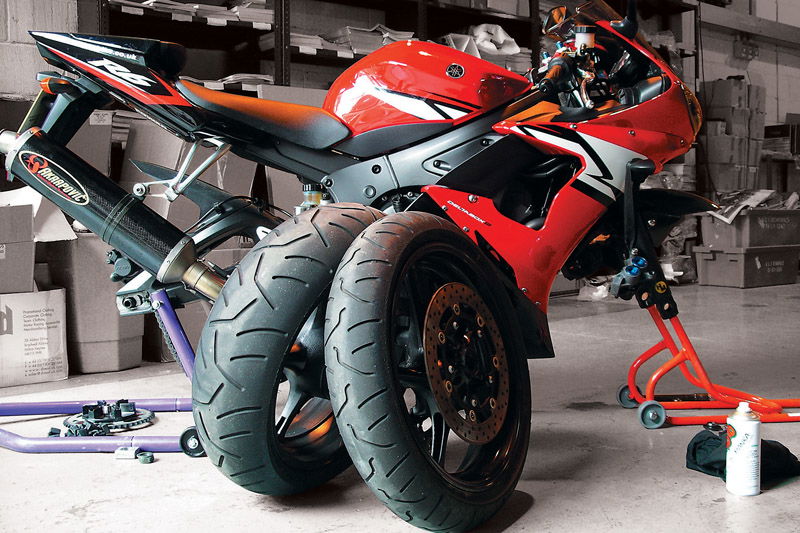
10 Steps for changing brake hoses
Replacing standard rubber brake hoses with aftermarket braided steel lines is a common modification and not beyond the scope of the DIY mechanic. Simply follow this easy guide to better stopping

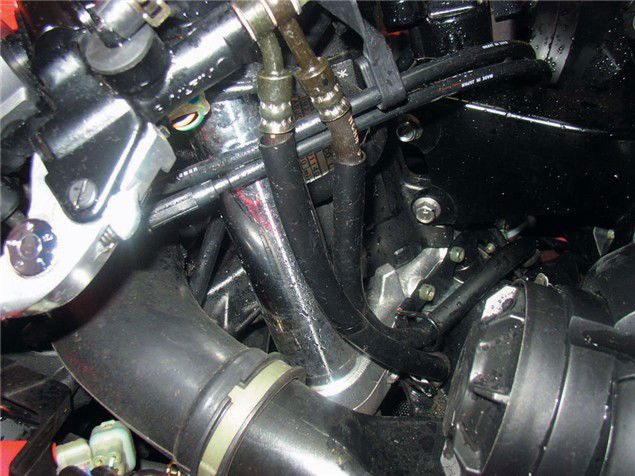
1. Study the routing of your standard hoses and the angle of the fittings. Removing the inner fairing panels on this R6 gave better access.
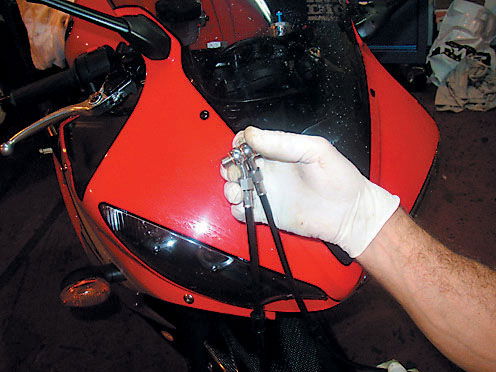
2. Make sure you've got all the fixtures and fittings you need, and that the new hoses are the correct length. These hoses are the same double-line arrangement as standard
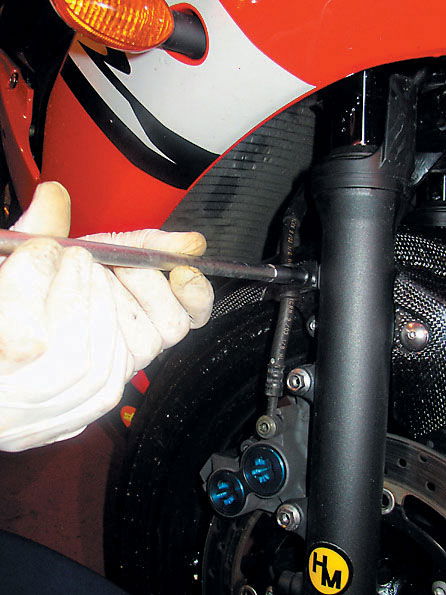
3. Remove all the fittings holding the standard hoses in place. Undo the hoses at the caliper, putting their ends in a container before undoing the opposite ends
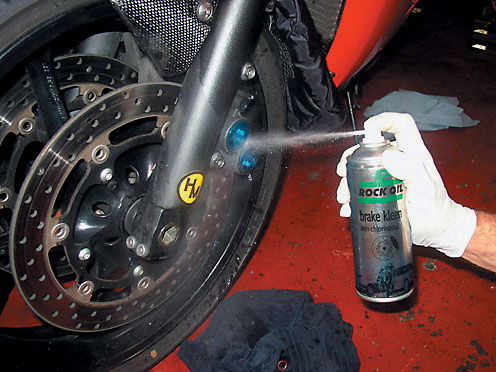
4. Tidy as you go, cleaning up any spillages with brake cleaner and a rag. Brake fluid is nasty stuff, so once a rag is soiled with some, bin it. You don't want to buff your tank with it by mistake
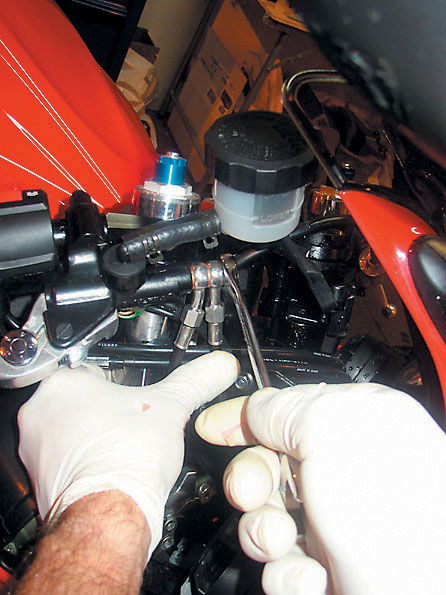
5. Refitting is a reversal of removal. Make sure the new lines are routed correctly and the fittings don't interfere with each other. Check again once fully tightened.
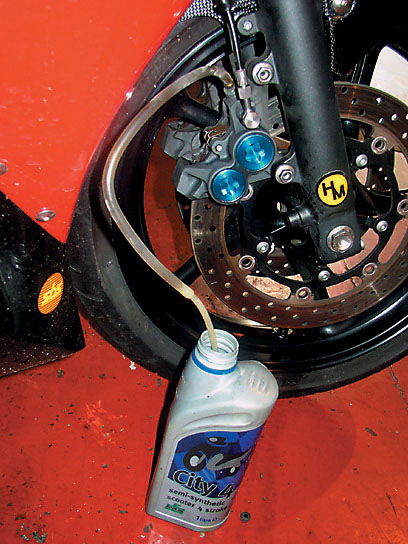
6. We used the tried and tested method - a simple piece of tube from nipple to container. Sometimes it works a treat, but it can take ages to get fluid pumping through.
7. We also gave this a go Motrax's Little Bleeder lets you leave the nipple open and air won't get sucked back into the caliper. It works, but only if the tube is airtight on the nipple
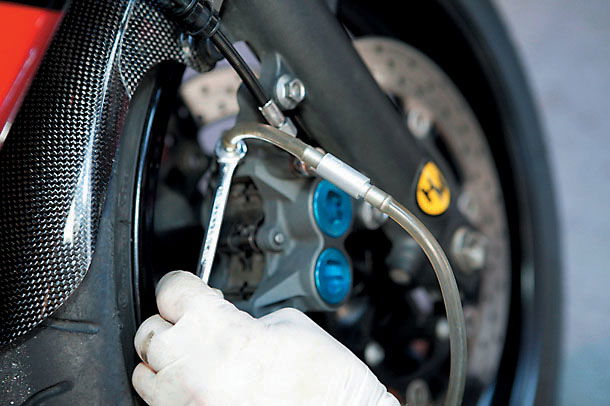
8. If all else fails you can try sucking fluid through with a syringe. It some-times works, but you'll need help keeping the master cylinder topped up
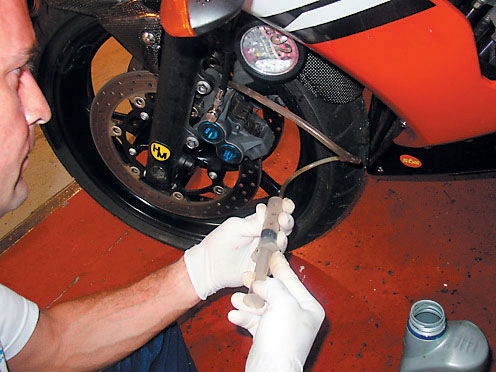
9. Don't let the fluid drop too low at any time during the bleeding process, or you'll be back where you started. And only ever use new, freshly-opened fluid.
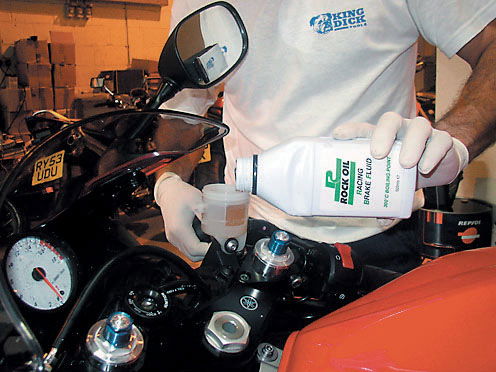
10. Open, squeeze, close, release, repeat to fade. Or repeat until the brakes feel nice and firm. Top up, check for leaks, job done
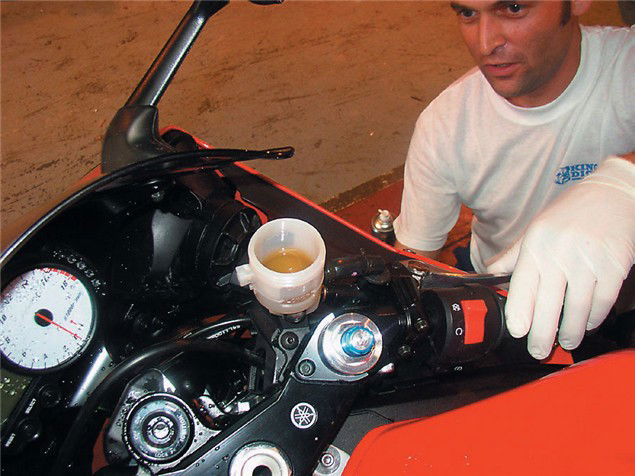
Sponsored By

Britain's No.1 Specialist Tools and Machinery Superstores
When it comes to buying tools and machinery, you need to know you're buying from specialists who know what they're talking about.
Machine Mart eat, sleep and breathe tools and machinery, and are constantly updating their range to give you the very best choice and value for money - all backed by expert advice from their friendly and knowledgeable staff. With superstores nationwide, a dedicated mail order department and a 24 hour website offering quality branded items at fiercely competitive prices, they should be your first choice for quality tools and equipment.
