Yamaha Tracer 900 long term round up
Official Yamaharr hot grips, and a catalyst for change
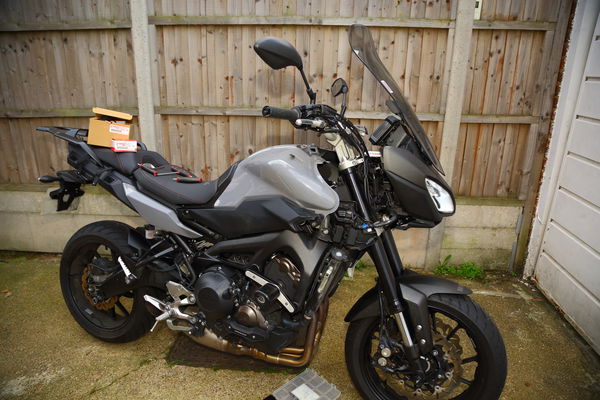
OOOOOH IT'S not the weather for biking really is it? Okay, the conditions have actually been pretty mild, and there’s not been any snow or ice yet. But the short days, grey skies and fridge-level temperatures have definitely put me off much in the way of pleasure rides.
The day-to-day stuff has to keep on though. I used the mighty Yamaha Tracer 900 for an airport run the week before xmas, and with my Keis electric vest on, it wasn’t half bad. Gatwick is just half an hour away on the bike, and I stay off the M23 for a cross-country ride, so the chill didn’t get right into my bones.
My hands were feeling it though. The stock handguards give a bit of protection from the wind blast of course, but even with my excellent Alpinestars Belize gloves on, my pinkies were twinging a bit in the breeze.
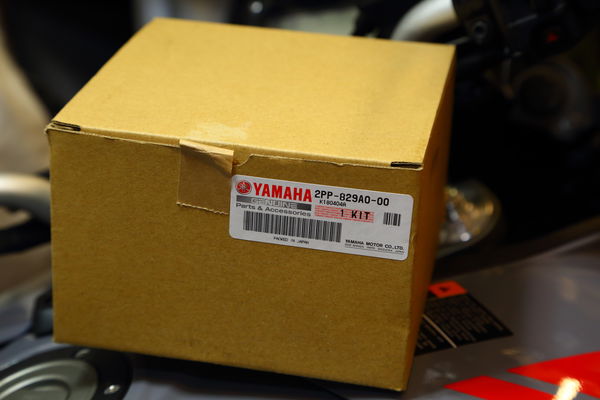
I had no excuse. The lovely folks at Yamaha UK had posted me some official hot grips a couple of weeks before, and they were sat on my workbench. Duh. I’ve got a few more trips coming up in January and Feb, so it was in my interest to get them fitted, toot facking sweet.
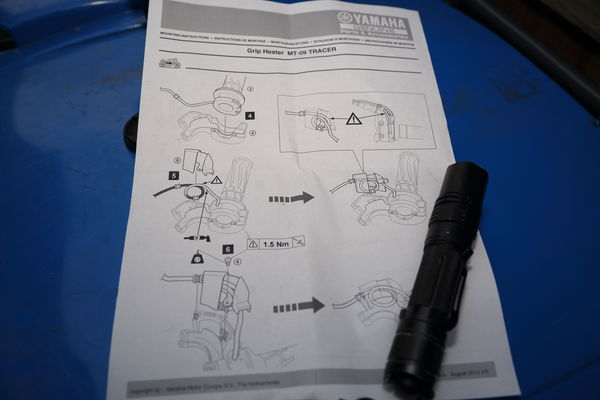
I’d glanced at the instructions, and tbf it did look a bit involved, with fairing removal, a total re-installation of the throttle twistgrip setup etc. But how hard could it really be? Not too bad in fact. I’ve made a wee video of the job, which I’ll bang up once the editor johnnies have had a go at it, but in the meantime, I’ll take you through it.
First up, read through the instructions yourself and check out all the bits in the kit. The Yamaha parts are pricey – around £170 rrp. But it’s a very comprehensive kit, and best of all, it plugs into existing wiring, and uses the standard switchgear and dash to control it all, meaning no extra wee switch panels on the bars or that. Pay most attention to the right hand grip, and the routing of the wiring through the new twistgrip/throttle cable housing. We’ll come back to that in a minute…
The left hand grip is simple – just remove the hand guard (one allen bolt on the bar end, two small allen bolts onto the bracket at the lever end), then work a small screwdriver in between the rubber grip and the metal handlebar. Move this all the way round the bar to break the rubber glue seal, working up to a longer screwdriver as you go along. Once you’ve got a screwdriver in the full length of the grip, all the way around, the glue should have released and you can work the grip off the bar.
Apply some suitable glue to the new heated grip – just a small bead about 5mm on the end closest the switchgear, then slide the grip on. You can get special grip glue from the likes of Renthal, but any contact cement type adhesive will work. Don’t use superglue or epoxy resin. Make sure you line up the new hot grip so the wire feeds into the special routing cutout on the bottom of the switchgear cube, and clip the wire in there, and through the cable clips on the existing wiring.
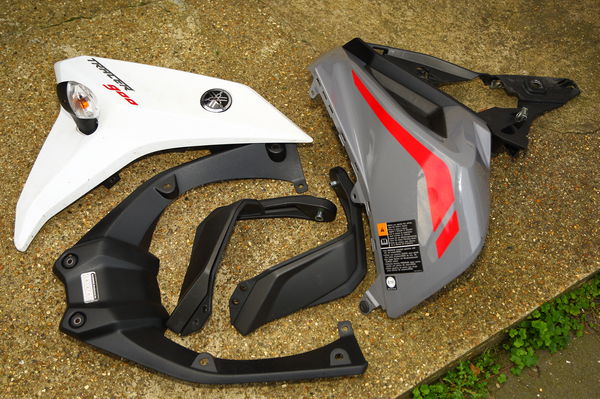
Hold fire on the left hand side now, and move to the right. We might as well take the bodywork off now – this is just to get access to route the wiring into the sockets on the stock wiring harness, which are tucked in behind right hand panels, where the indicator wiring feeds. Remove the black plastic trim around the steering head (two allen bolts and six plastic pop rivets), then the outer triangular panel with the indicator on. Weirdly this uses three Dzsus-type quick-release fasteners, for some bizarre reason. Once this is off (remember and disconnect the indicator wiring) you turn to the main side panel, which bolts onto the top of the tank, and has a couple of allen bolts into the side, plus plastic pop rivet fasteners onto the radiator and other fairing panels. With the plastic out of the way, you’ll find the grip connectors, inside a plastic shroud, one grey, one black.
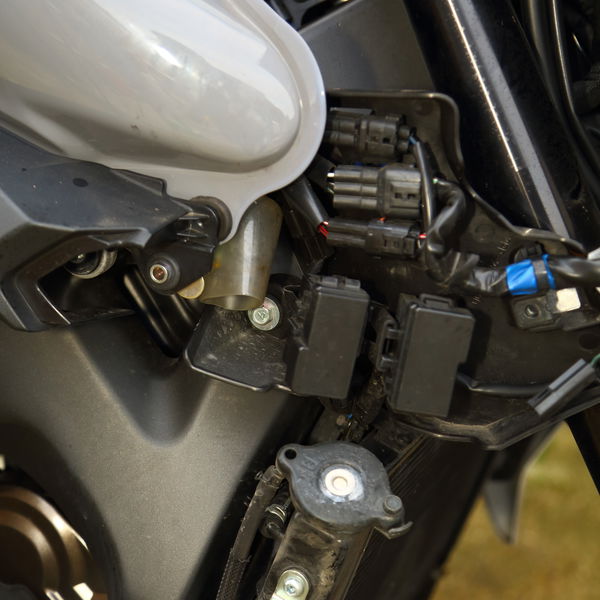
Next, remove the stock right hand grip. Again, take off the hand guard as on the LHS, then unbolt the two allen bolts on the twistgrip housing. Remove that, unhook the throttle cables from the twistgrip, and slide it off the bars. Now, we have the very fiddly bit… Essentially, Yamaha’s designed a new setup where the wiring to the heated grip has a ‘loop’ that lets the grip twist back and forward without the cable being damaged or caught. To do this, there’s a new twistgrip housing, with an extra channel in it for said cable, and a small screw-fastened clamp that holds the power cable in place, with the loop in there. It’s quite hard to describe, but the Yamaha instructions have a diagram, which I implore you to look at very carefully over a cuppa, with the parts in your hand, so you can get it right in your head.
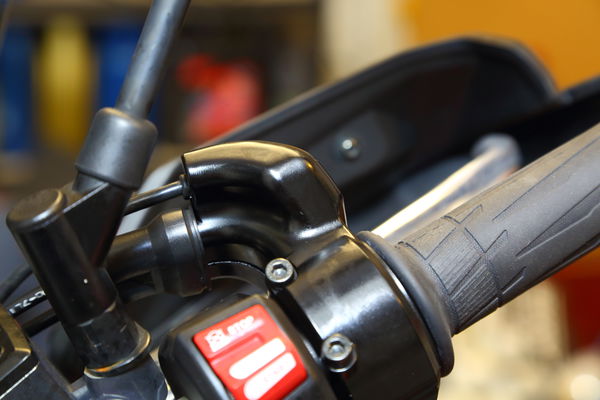
After a couple of goes, I managed it. If the twistgrip doesn’t move totally freely when you install the cables, then you’ve done it wrong… Take it off and do it again. Once it’s all in place, bolt the two halves of the new twistgrip housing together, making sure the little projection on the bottom engages in the hole in the handlebars so it stays in place.
Now you just need to route the cables down to the connectors, following the drawing in the instructions and using the official Yamaha cable ties to supplement the existing clips on the stock wiring harness. Plug each grip into its associated connector, and check it all works before putting the plastic back on.
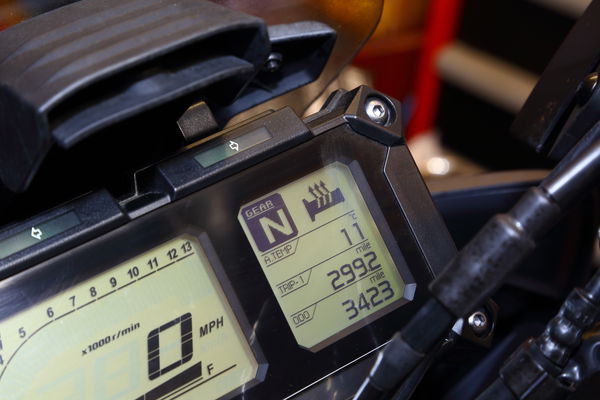
Turn on the ignition, press the menu button and you should get a new ‘heated grips’ logo on the dash display. Pressing up and down on the menu controls turns the heat up or down – there are three settings and off. Delve into the setup menu, and you can even assign different values to the three settings – there’s a base heat setting of 1-10, so you can fine-tune the heat settings to suit your own needs. Nice. The grips won’t heat up until you start the engine btw, which caught me out at first…
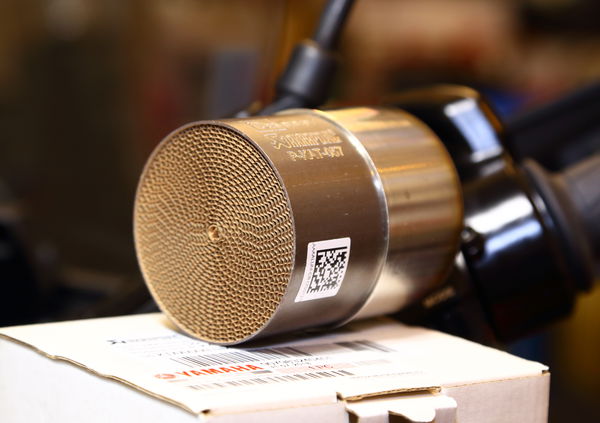
Plastics back on, and now I have the proper factory hot grips installed, which should make things easier on the cold airport runs this month. Which just left the other minor niggle… The Akrapovic race pipe has been a bit on the loud side since I fitted it. I could refit the baffle, but it’s a bit on the quiet side. One answer is, apparently, to fit the optional catalytic convertor to the Akra. This costs £130, so it’s not a budget option, but I do sort of like the idea of keeping the exhaust gas emissions down, even while emitting a racey yowl. The cat is easy enough to slip in – it simply fits in between the silencer and the downpipes. Getting access to the exhaust is a bit fiddly – but I’m getting better at it now. The trick is to loosen the header nuts to get some movement, then you can separate the silencer and get it back in again.
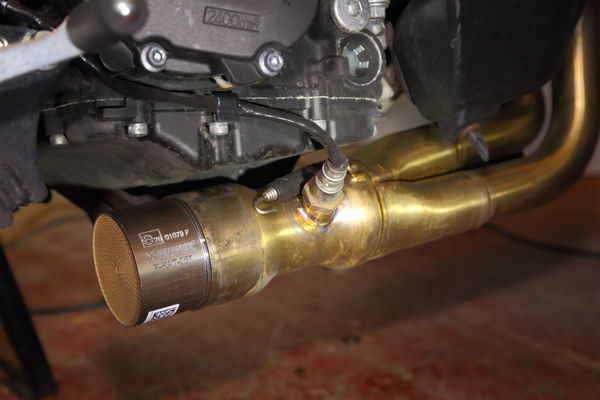
The result? Well, it’s fair to say the thing is still bladdy noisy. Using a sound meter app, I got 97.3dB, which is still quite loud, though a bit less than I thought. It should get you onto a ‘loud’ trackday, but is also on the antisocial side if you leave for work each morning at 6am and like your neighbours. I’ve just got hold of this sound meter, so will do some further investigating when I get a minute, and give you PROPER FIGURES for stock pipe, race pipe, catalyst in and out and baffle in and out. Because that’s sort of what I’m here for I guess…
