Make your bike better for nowt
Ten ways to improve your life, cheaply

Get it clean
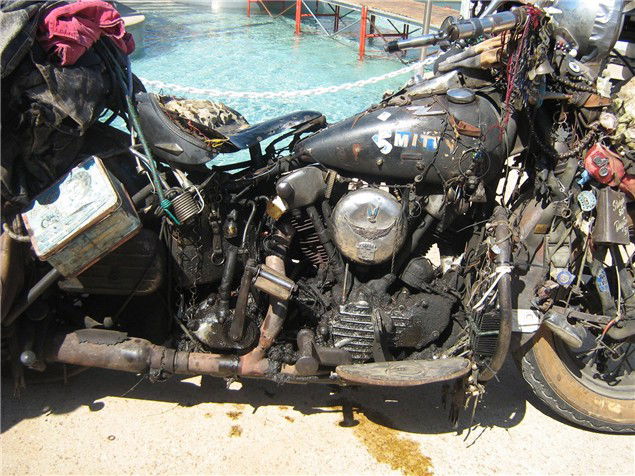
There’s nothing like a tank/bodywork-off spring clean to restore your bike's karma. Use a good bike cleaner spray, work it in with a paint brush for stubborn muck and hose (or better still) jet wash it off for a nice, cack-free bike.
Only when a bike is clean can you spot errant or loose fasteners, dodgy wiring or parts that foul one another.
If you’ve gone far enough to take all the bodywork off, this might be a good time to do your own basic servicing but before you do get the bike as dry as possible first. An air line and air gun is the best way to do this but failing that, a small, absorbent dog will do.
Lube
Lube her up
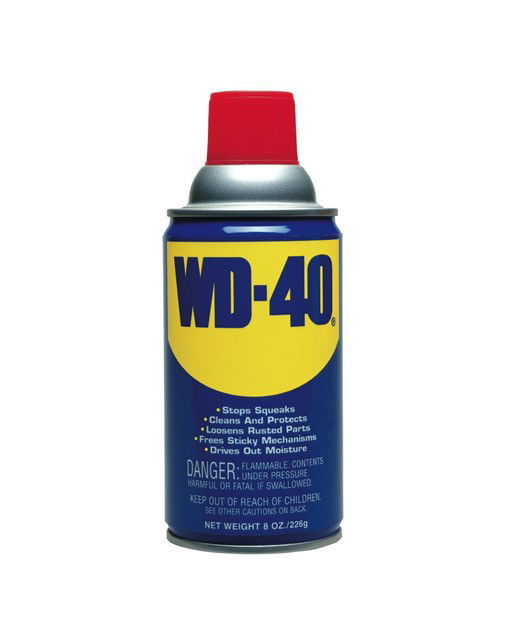
Once your bike’s clean, WD40 or any silicon spray makes a massive difference to your bike's condition. Applied in sparingly small amounts, it gives a protective, slippery coating to all surfaces – just don’t get it anywhere near your tyres or brakes. WD40 helps cable outers slip against each other (useful around the headstock and steering stem area) and provides moisture resistance for block connectors and switchgear. A squirt of it on your key and inside lock barrels helps them function as good as new. Troubled by wasps? WD40 makes a handy pocket-sized flamethrower, too.
Cables
Cable routing
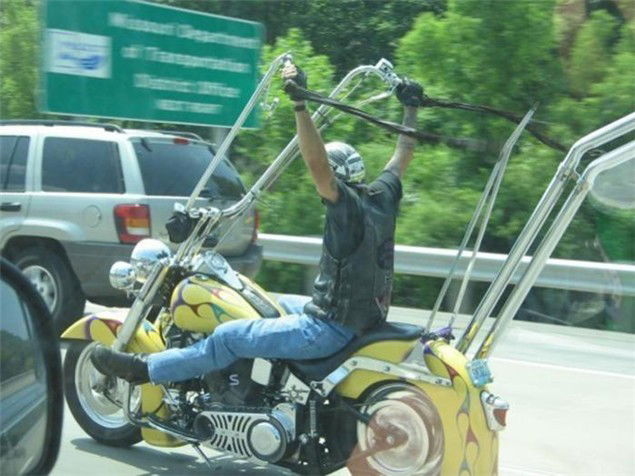
Chances are, if your bike has had a number of previous butchers before you, the throttle and clutch cables have been replaced, fiddled with and re-fitted a number of times before. They’re probably not routed as the manufacture intended and just this alone can ruin how a bike feels.
From full left-lock to full right-lock there must be no resistance, no excessive stretching and all cables must avoid the lock-stops. If the cables are routed well your throttle should snap shut across the whole spectrum of the steering’s sweep. The last thing you want whilst doing a U-turn is a racing tickover. Time and a bit of head-scratching is all takes to get your cable routing right.
Chain
Chain Gang
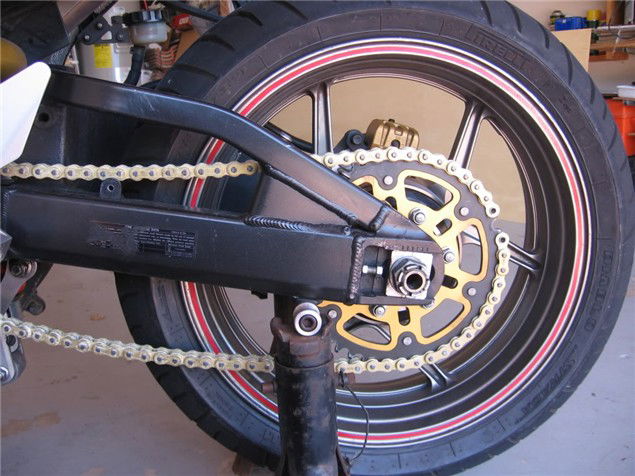
Until you’ve had a chain snap at high speed it’s hard to perceive the massive energy at work next to your heels. Chains need to be clean, well lubed (apply to the inside run of the chain, not the outside) and, above all, correctly adjusted.
Too little free-play and you’ll wreck your gearbox and wheel bearings, ruin your rear suspension action and halve the life of your expensive chain and sprockets.
Too much free play has almost exactly the same unpleasant effects and is equally dangerous.
Not feeling very confident? This man may be called Nancy but he talks your through a pretty thorough how-to process. Good work, Nancy.
Tyre pressure
Under Pressure
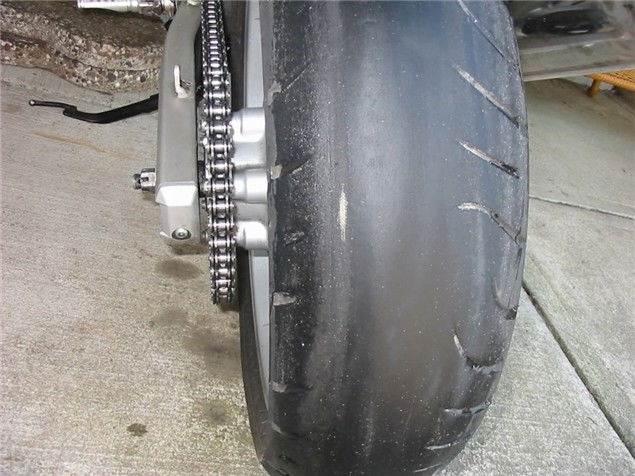
It pays to spend a bit extra on a good pressure gauge if you’re serious about keeping your bike in tip-top condition. Garage forecourt equipment is not to be trusted and neither are magazine-mounted 'free' gifts.
If you’ve not ridden your bike for a week or maybe more you will need to check your pressures. We’d put money on at least a two or three psi drop and that can make the difference between sluggish and pin-sharp steering. Stick to your tyre brand’s recommended pressures and make it a weekly habit. On a race weekend a rider or mechanic will check tyre pressure between twelve and twenty times. After all, your tyres are the only thing between you and the road – you don’t have to be as OCD as a racer but all tyres and (porous) wheels lose pressure over time. If you want your bike to feel new again, you’ve got to keep using that pressure gauge.
Wheels
Wheels, true
If you like a bike that’s super-stable at high speed, wheel alignment is pretty important. Obviously, as the front wheel is clamped by the forks, there’s only one wheel (the rear) that offers any pitch and yaw adjustment.
To see if your back wheel is plotting the same path as the front (don’t believe chain adjuster marks – they always lie) you’ll need two straight edges. Aluminium ones are best but at a pinch, long strip light bulbs will do as long as you’re super-super gentle.
The process is simple. Using both edges (one on either side) clamp one end to either side of your back wheel so they touch the front and rear outer edges of the tyre. With the steering straight and the bike upright, measure the gaps between either side of the front wheel and adjust your rear wheel accordingly so the gaps are identical either side. Simple.
Lever position
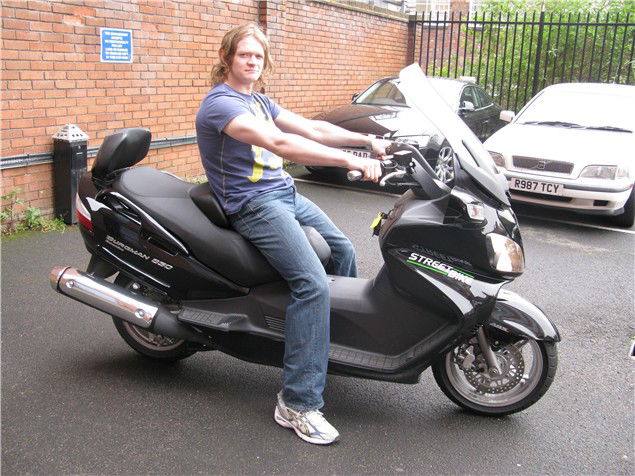
Levering advantage
Your front brake and clutch levers are lifeblood. Anyone used to riding old two-strokes will instinctively ride with one or two fingers on the clutch at all times and good road riders will do the same with the front brake. This way you’ve minimised the time it takes to brake quickly as you’re already to do just that if your fingers are always resting on the brake lever.
Lever position is crucial, particularly if you want to be comfortable and relaxed. But what’s right and what’s wrong?
Sit on your bike in your normal riding position and put both hand on the grips. Extend your fingers in a straight line and if your levers aren’t too low or too high your finger will be resting on the tops of the levers and you will be able to draw a straight line right down your forearm to the tips of your extended fingers, Too high and your wrists will have to bend up, too low and the opposite is true. Getting it wrong is a great way to endure wrist ache, cramp and in severe cases, arm pump. Adjustment is a simple case of slackening the lever’s pinch bolts and rotating the clamps a few degrees either way until it’s spot on.
The man in this picture has his levers in the correct position and cuts a fine dash, accordingly.
Pedal position
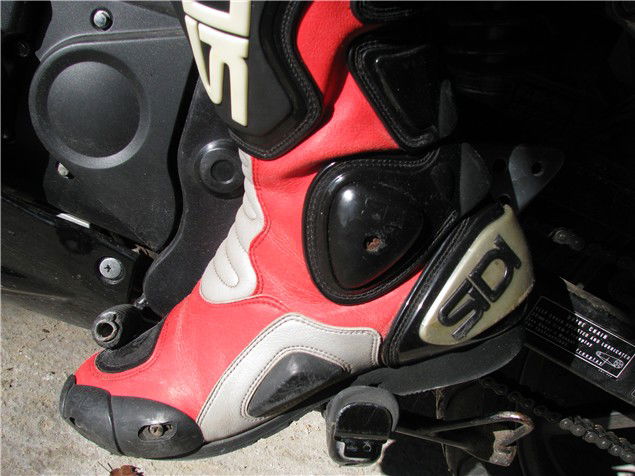
Foot fall
So you’ve got your bar levers positioned correctly. It took you ten minutes and needed only one Allen key. What about your gear lever and rear brake pedal?
The same is true, here.
Sit on the bike and put both feet on the footrests. Without bending your ankle unnaturally, the back brake pedal should be slap-bang under your toes. If you have to bend your ankle up to reach it, it’s too high and vice versa. Adjustment is easy. Make a note of which way you have to adjust it, undo the pinch bolt and move it round a spline or two accordingly. If the adjustment needed is microscopic it may be possible to adjust it on the free-play screw.
The same is true of the gear lever, especially if you don’t want to look like Leon Haslam and his flappy-knees downshift style. You need to be able to change gear without adjusting your body position so make sure the gear lever tip sits just on top of your toes – no higher, no lower. Your bike’s toolkit spanners will allow you to do all the above.
Throttle
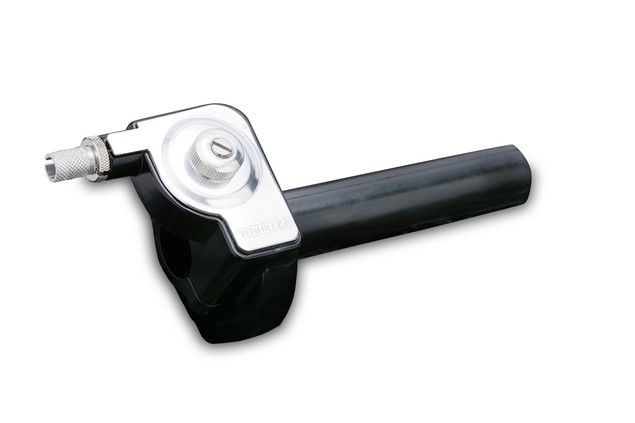
Throttled
Your life is in your right hand and the throttle assembly is your best friend. Treat it as such.
Twist grip Nirvana is a light action without too much free play and when you ping it wide-full-open and let go, it should snap shut again so fast that it almost makes you jump.
If it doesn’t do this you may need to check that your grips aren’t fouling the switchgear or the handlebar end. Lube the cable inners with WD40 or silicon spray (a blob of sculpted blue tack makes a handy funnel to coax the lube inside the cable) and make sure the insides of the twistgrip are scrupulously clean and lightly lubricated.
In race scrutineering, throttle action is the first thing the hawk-eyed inspectors check - for good reason.
Grips
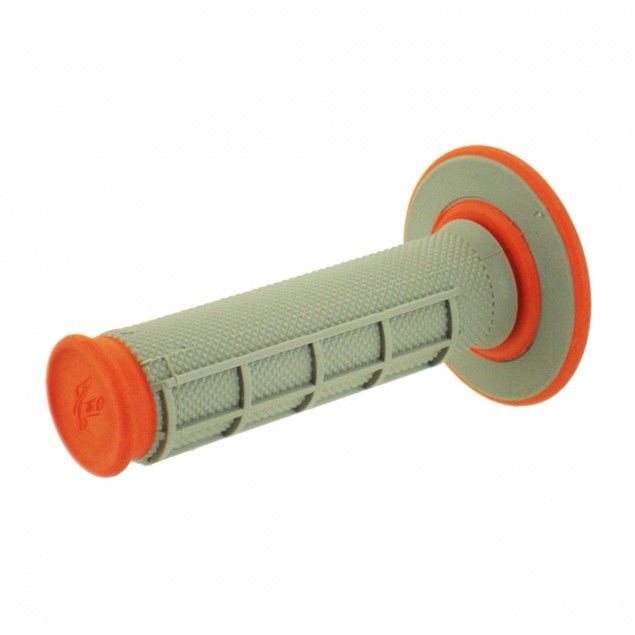
Get a grip
There’s nothing more hateful than a bike with two throttles where the left hand grip spins round the bar as easily as the right hand one. Loose handlebar grips are a cardinal sin - how can you ever hope to have control of something that you can’t keep your hands on?
I’ve always used the trusty brake cleaner/long screwdriver/lockwire trick and it’s never let me down. To remove the offending grip poke the screwdriver up it and squirt a little brake cleaner into the gap. This is enough to twist the grip free.
Next, clean the handlebar with brake cleaner and a rag. Another squirt of brake cleaner up the grip and slither it back on. Leave for an hour before lock-wiring both ends of the grip to the bar by looping the thin wire round the groove (twice) and pulling the two ends tight with pliers whilst twisting the wire to keep it secured. Cut off the excess wire, loop the head over to avoid a sharp end and push the stub into the groove with the nose of the pliers. Bosh.
