10 Quick steps for changing brake pads
Get the knowledge of how to change your own brake pads with this 10 step guide

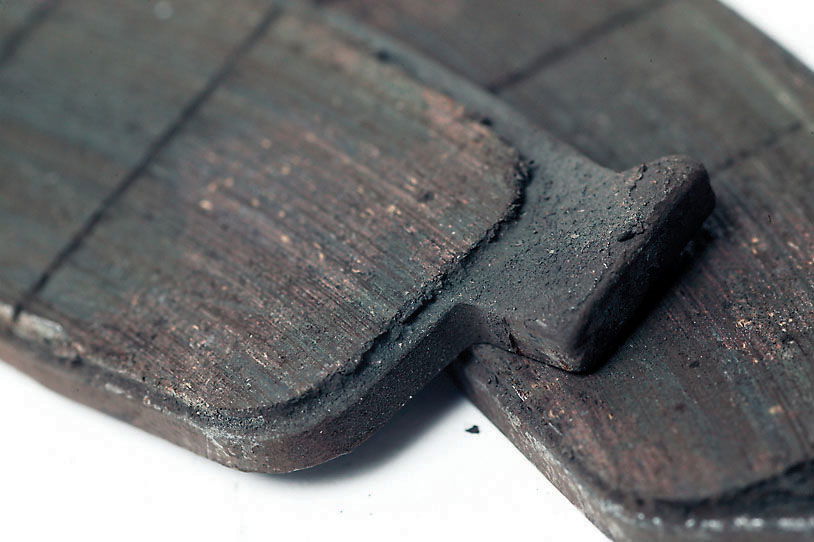
1. Dirty calipers and worn pads There are only a few miles left in this Hornet's front pads. They need changing sharpish, and the caliper could do with a spruce up too.
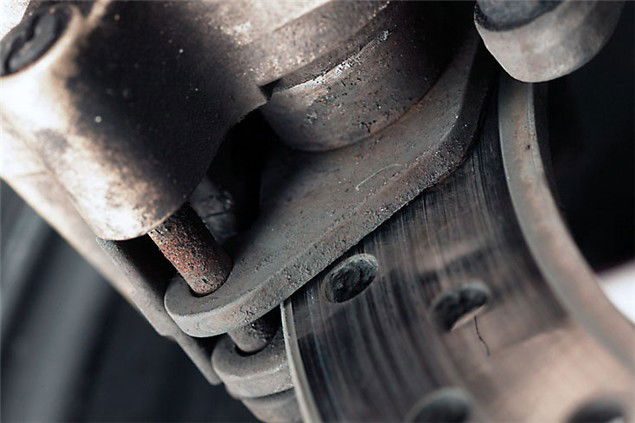
2. Loosen the pad retaining pin. They can be pretty tight , so do it with the caliper firmly attached to the fork leg. The Hornet's pins have dust covers, so remove them first.
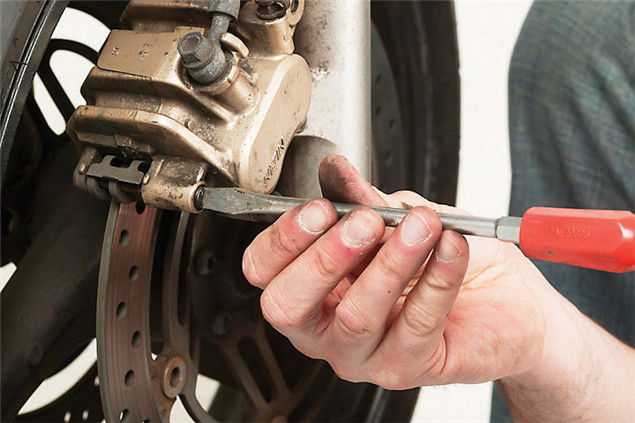
3. Undo the caliper Usually 12mm bolts. Some bikes have hex-headed bolts - don't be tempted to use an an Allen key on them, get some hex bits to use with a ratchet.
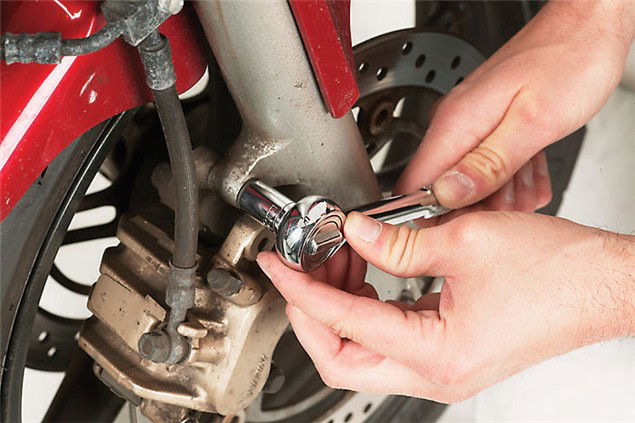
4. Undo the pad retaining pin which we loosened earlier. These have dust caps, but if yours don't, you might need to remove muck from the hex head first.
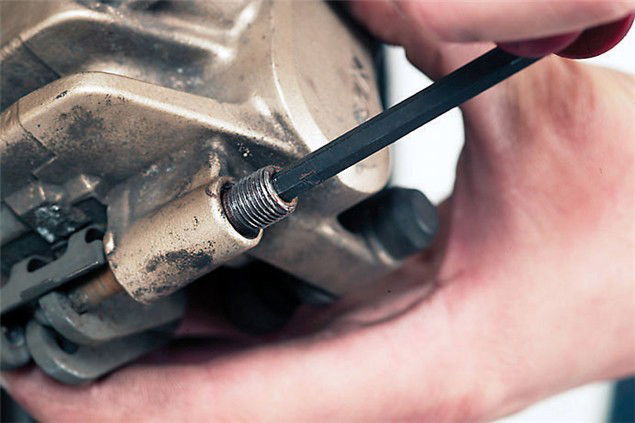
5. Remove the pin and pads, noting how they're located so you can put it all back together. There's about 1mm of material left on these pads. We were just in time.
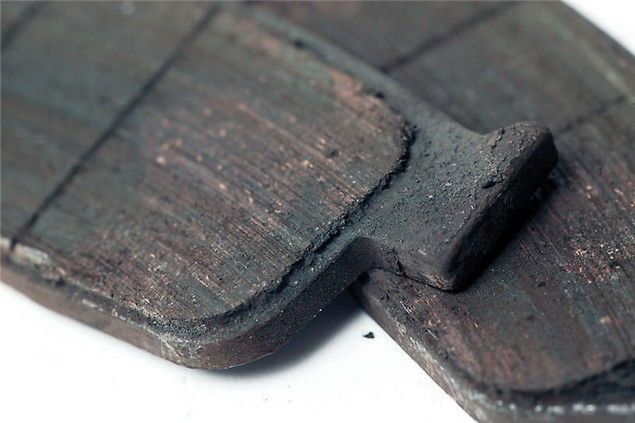
6. These are the exposed caliper pistons It's a sliding pin caliper, so access is good. Opposed piston calipers found on sportsbikes can be tricky to get at.
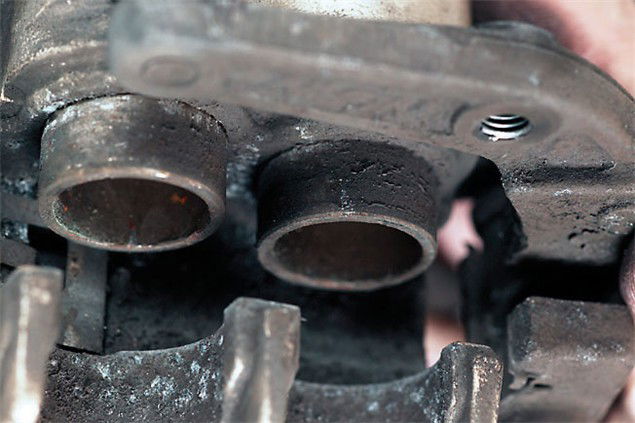
7. Use brake cleaner and an old toothbrush to clean the exposed pistons. Angle-headed toothbrushes work best for those hard-to-reach places.
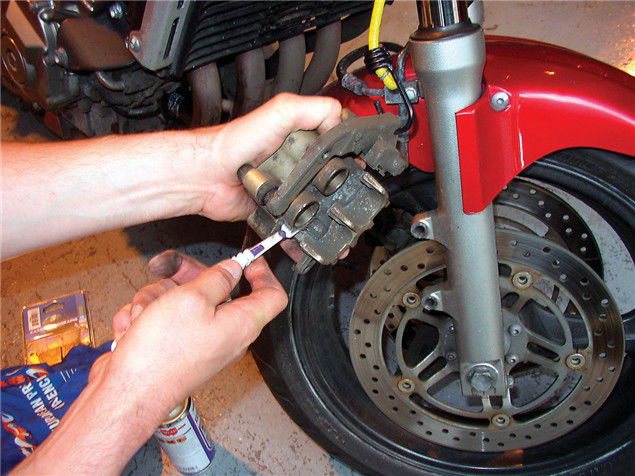
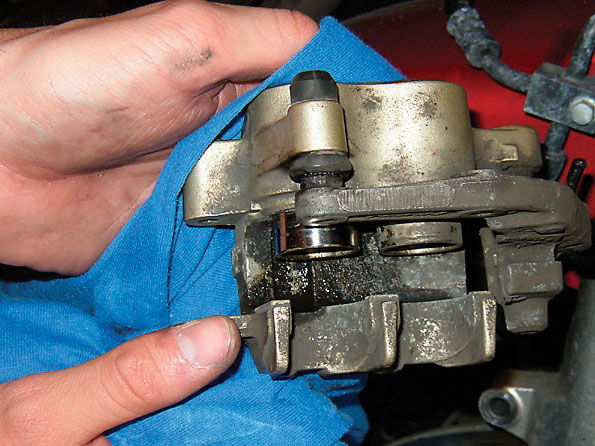
8. The piston on the left is clean the one on the right still dirty. See the difference? If you can, apply high temperature brake paste to the pistons before pushing them back in.
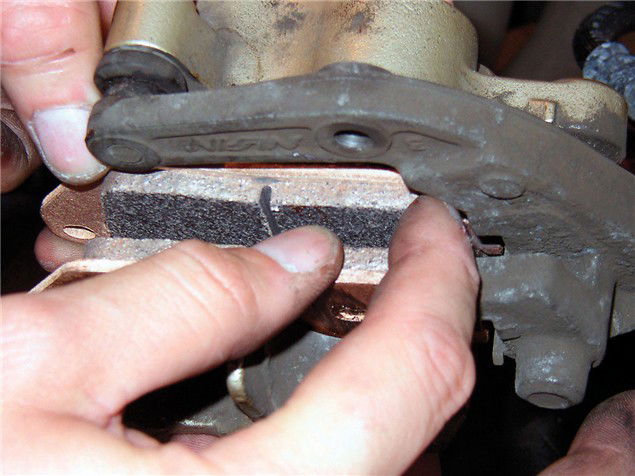
9. Fit the new pads putting a smear of copper grease on the back where they contact the caliper. Refit the pad pin, again with copper grease applied to it.
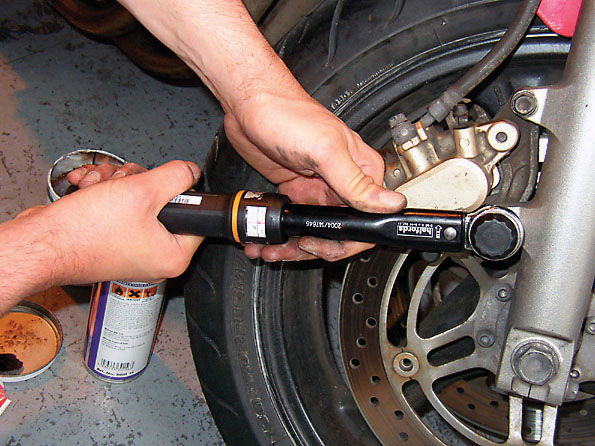
10. Refit the calipers and torque up the bolts. Don't overtighten them. Do up the pad pin, then pump the brake lever to restore pressure. Job done.
Sponsored By

Britain's No.1 Specialist Tools and Machinery Superstores
When it comes to buying tools and machinery, you need to know you're buying from specialists who know what they're talking about.
Machine Mart eat, sleep and breathe tools and machinery, and are constantly updating their range to give you the very best choice and value for money - all backed by expert advice from their friendly and knowledgeable staff. With superstores nationwide, a dedicated mail order department and a 24 hour website offering quality branded items at fiercely competitive prices, they should be your first choice for quality tools and equipment.
