D.I.Y: Brake Maintenance
It's no good having the fastest bike in the world if you can't stop it when you need to. Brake maintenance is essential - here's how to change your own brake pads
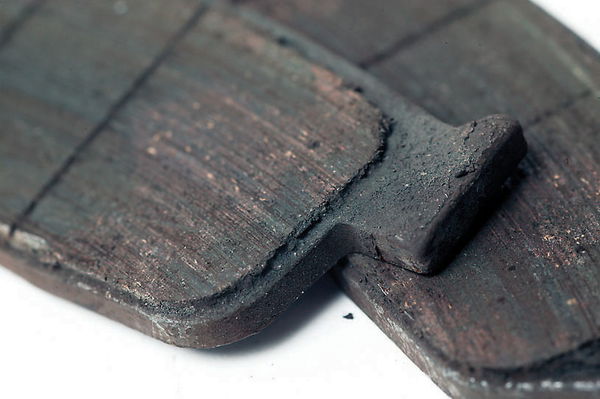

Click here 10 Quick steps to changing brake pads
Buy a brand new bike and you can put thoughts of changing consumables such as brake pads, chains and sprockets out of your mind for a good few thousand miles.
But buy a second-hand machine and the chances are some of the above will be in need of attention sooner or later. It could be that you negotiated a handy wedge off the seller's price because something was in need of replacement. If that's the case - or if you're simply biking on a budget - you might be keen to do a spot of home maintenance.
One of the easiest mechanical DIY jobs on a bike is changing brake pads. If all goes well, the job shouldn't take any more than an hour - and that's being generous. Pulling the pads out and cleaning the calipers up is useful maintenance in its own right, even if the pads don't need changing. Some bikes - and some Yamahas in particular - suffer from seizing brakes if left neglected, especially through salty winter months. But a word of warning: as with all home maintenance - and especially with something as critical to your safety as brakes - don't attempt the job unless you've got all the right tools to hand and you're confident enough to see it through. If you are in any doubt, leave it to your dealer.
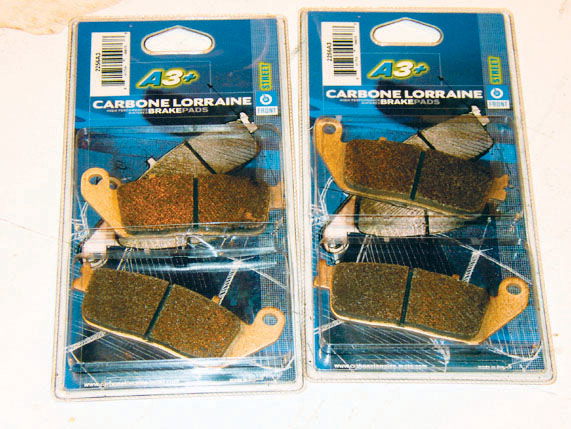
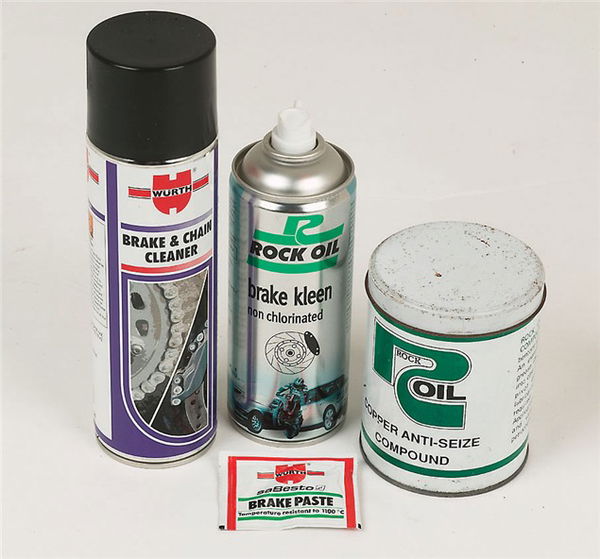
Before you start, make sure you have everything you need to complete the job. So that'll be a new set of pads for a start. Second, have a look over the bike's brakes and see what you'll need to remove the calipers and the pads themselves - usually a couple of 12mm bolts holding the calipers to the forks and a hexagonal or Allen-headed pin or two holding the pads themselves in place. You'll also want some bits of rag, brake cleaner, soapy water (if the calipers are in a right state), high temperature lubricant such as copper grease, brake paste (if you can get hold of it), a bungee cord and an old toothbrush.
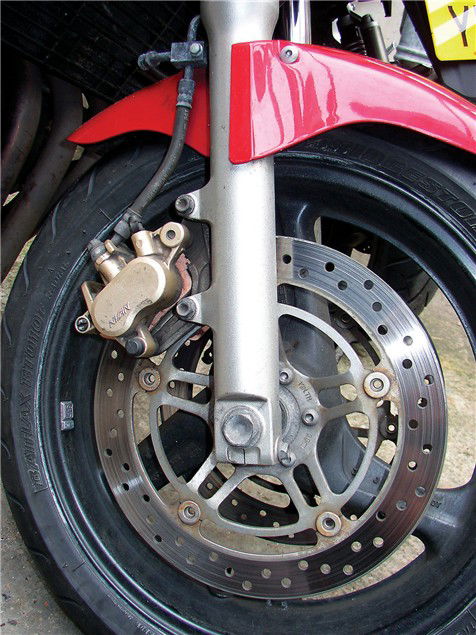
There are two types of caliper found on bikes these days: opposed piston and sliding pin. Opposed piston calipers have hydraulically operated pistons in each side of the caliper, so an even braking pressure squeezes the pads against the disc from each side when the brake is applied. Sliding pin calipers only have pistons operating against the outer pads. The caliper is mounted on a bracket which it moves against on - guess what? Sliding pins. This pulls the opposite pads against the disc as braking pressure is applied.
While most modern bikes these days use the more modern opposed piston type, the Hornet uses sliding pin calipers, which actually makes our job here a little easier as we have better access to the pistons for cleaning and pushing them back into the caliper body.
The first step is to loosen off the pins holding the pads in place - it's much easier to do while the calipers are firmly attached to the fork legs (some pad pins are held in place with 'R' clips, which can be left in place until the caliper is removed). In the case of designer Wayne's '98 Hornet 600, there's one pad pin to undo. It's hex-headed, but hidden behind a cap that needs undoing with a large flat blade screwdriver. This is where having the right tool is important - don't undo the cap with a screwdriver that's too small or you'll chew up the screw's head. Remove it, put it safely to one side, and then loosen the pad pin with a good quality Allen key. Don't remove the pin just yet.
Next, undo the caliper mounting bolts with a decent socket and ratchet. Put the bolts aside and slide the caliper back off the disc and jiggle it about to clear the disc and wheel. There's often surprisingly little space to get the caliper clear- be careful not to knock it against the wheel rim or you could scratch the paint.
Now fully undo and remove the pad pin. Note carefully how the pads are located in the caliper body, and then remove them from the caliper. It's important not to leave the caliper hanging by its brake hoses, so use a bungee cord attached to a bar or indicator and suspend the caliper by one of its mounting bolt's holes.
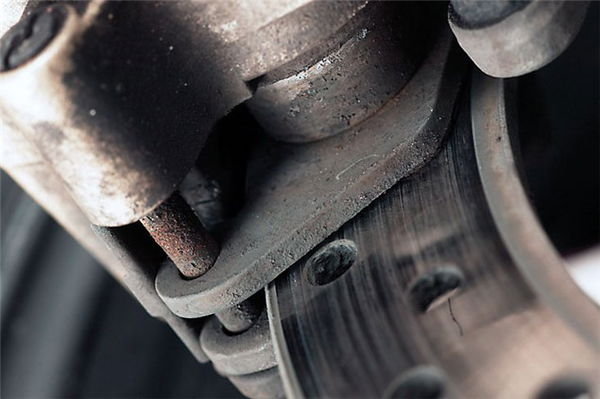
If the caliper is really crud-encrusted, clean the worst of the muck off with soapy water. Afterwards, use brake cleaner and an old toothbrush to clean up the exposed pistons, the holes the pad retaining pins slide through and the anti-rattle shims.
With everything clean and shiny, apply some brake paste to the pistons (not essential, but a good idea if you can get hold of it). Don't use copper grease or any oil-based lube on the pistons themselves, as it will damage the rubber piston seals.
Push the pistons back into the caliper, which could be easier said than done. If everything's in reasonable nick, it can be done with fingers and thumbs and a firm squeeze. If not, it might be possible to get a G-clamp on the pistons and force them back in, but do so CAREFULLY, only a tiny bit at a time or the caliper seals could be damaged.
Be careful to check the fluid level in the master cylinder. If the brakes have been bled and the cylinder topped up with fluid while the pads are worn, there may not be enough space in the master cylinder for the fluid displaced by the pistons. It may be necessary to remove some brake fluid in order to push all the pistons back far enough to accommodate the new pads.
With the pistons back in place, clean up the pad-retaining pin, and lubricate it with some copper-based, high melting point grease. Apply a smear to the back of the pads too - being careful not to get any on the friction material - then refit the pads and pin(s) into the caliper.
It's best to tighten the pad pins once the caliper has been remounted to the fork leg, but DON'T FORGET TO DO IT. With the pads and pin in place, make sure the pistons have been pushed back in far enough to get the new pads over the disc, and then refit the caliper over the disc. Clean the mounting bolts, and torque them up to the recommended setting - 22lb.ft in this case. Do not be tempted to over-tighten them. Now tighten the pad retaining pins and finally pump the lever at the bar to make sure there's pressure in the brake lines.
Remember, new brakes will take some running in as the pad surface mates to the disc, so be careful for the first few miles.
