How to video shoot like a pro
You might aspire to shooting great video footage of you or your mates riding, but looking godlike in front of a camcorder is harder than it looks

���
�
Shooting fast-moving motorcycles well with a video camera is bloody hard. I should know, I’ve been filming cars and bikes for TV for over 10 years and even now I sometimes get it wrong. Bikes especially are very hard to shoot well, they’re much more difficult than cars. They’re dynamic, relatively small and if you’re trying to shoot video of your mates or yourself looking fast on your bike, you can shoot for hours and be really disappointed with what you get when you get back home. Bikes too small in the frame, loads of wobble in your shots, dull-looking locations – it’s really not easy. But get it right and a fast-moving motorcycle looks incredible.
We’re going to assume here you want to create a five-minute video riding country roads. If you’re planning on riding somewhere with a bunch of mates on a road trip, this is the perfect time to get out the camera and record the whole event. But these tips will work equally well if you shoot as a spectator at a MotoGP event or wherever there are bikes you want to film. I’m afraid I can’t tell you how to edit your movie once it’s shot – that’s another whole black art involving iMovies if you’re basic and Final Cut Pro if you’re advanced – but at least on these pages I can give you some idea of what to shoot on your bike and how to shoot it in the first place.
There are six key rules to shooting bikes and making them look good. I still stick to them now. They are:
- Keep it simple – don’t be too adventurous with your videos to start with. Save the George Lucas routine for later as you get better.
- Have a plan for your shoot. Know roughly what you want to get and use the right locations to get it.
- Never zoom in or out while you’re shooting. Ever. Your footage will get shaky and look properly shit.
- Learn and use the manual settings on your camera. Video cameras are clever but not that clever. Set the exposure manually when you can but leave the focus on AF, as Auto Focus systems are excellent.
- Shoot wide and think about the scenery. Tape is cheap, but it’s really boring watching hours of just you riding around. Press record sparingly!
- Keep it short and sweet. Quality over quantity every single time.
From this, we can further break it down into four main shots we need to work on. Every shot you take in video has a beginning, a middle and an end, so please pay attention. I’ll only go through this once...
Cornering shots and pans
Cornering shots and pans
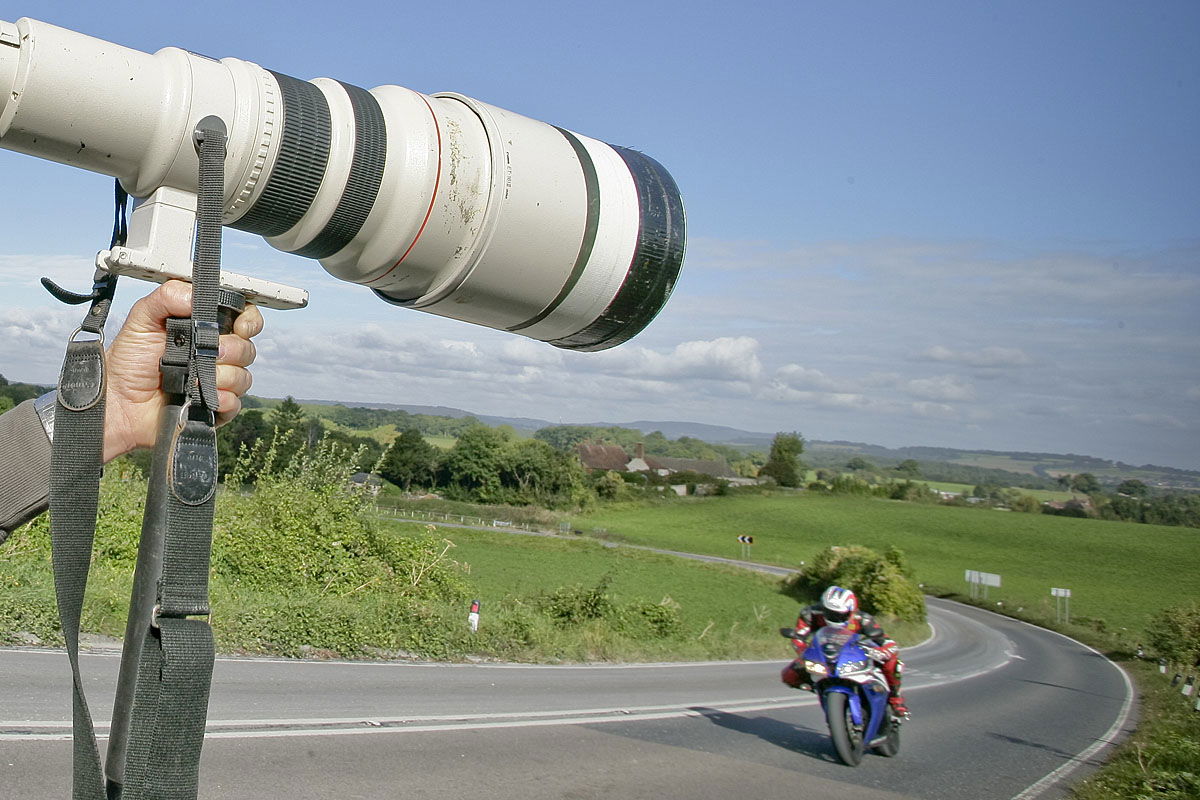
Put the bike in the middle of the road and set your exposure to it. You want to have at least three separate corners you can work, ranging from fast A-road to tight B-road, giving a mix of fast and slow bends, and you can get at least three completely different shots on one corner. Shoot a combination of wide scenery shots and tight bike-action, it gives you more to play with afterwards. When I shoot a car or bike, I look at the corner, the trees, the scenery – I don’t look at the vehicle at all. Don’t shoot really long corners because the bike will be tiny in the frame, and typically you want to be about 5 metres back from the subject, keeping your angles low.
Start with a typical right-left pan. As the bike approaches, use your flip-out screen and be ready to pan at some speed. The bike is going to whistle past, and you have to be ready for it. Start steady and pan rapidly as the bike comes round. It’s like a golf swing, that’s the movement you want. You swivel at the waist. You need to be smooth, so practice a few times before you do the shot, it has to be an all-in-one movement. The smoothness of your panning action will improve with time, but I can’t stress how important it is.
You can pan from the inside, the outside, and even above the bike. Once you get the basic movement down you can get more adventurous. One of my favourite tricks is to start with the shot tilted 45° to the right, and as I pan through with the bike I tilt the frame 45° to the left. Makes the shot look really dynamic and exciting.
One of the simplest shots to do that involves no panning and looks really good is to put the camera on the ground or on your knee, looking towards the bike. Put it right in the gutter. Shoot at the bike coming towards you and going past out of shot (don’t move the camera) then shoot the reverse angle of the bike going away in a separate shot from the same angle and corner. When you edit the two together it looks really fast and very professional. And it’s great for knee-down shots. Find out where the apex is, and set yourself up there.
Bike-to-bike tracking shots
Bike-to-bike tracking shots
Another staple of Top Gear and all the TV car shows is the tracking shot. Hop on the back of one bike (wear an open-face lid so you can see what you’re doing) and film the other rider on his bike up-close and personal. Chose a quiet piece of road so you can use the full width of the lane. It’s best to have the camera bike on the white lines, with your riding subject in the gutter. Discuss what you’re going to do before and make sure you have your hand signals sorted. You can’t be waving madly because you’re trying to hold a camera as steady as you can. You can get really close to the action and these shots are easy to do. Because the two vehicles are moving almost at a standstill relative to each other, you can really muck about and have fun.
Hang off the back of the bike, stretch down and put the camera as close to the ground as you can and shoot up. Don’t even try and look at the flip-out screen, but try one position, hold it for 20 seconds, try another position, hold it for 20 seconds, and see what you get. You’re in there with the action so you’ll hang onto a tracking shot longer and use more of it when you come to edit it in iMovie.
Try and move from one angle to the next smoothly. You want to transition without an edit in mind. It’s very hard because he might be riding too fast and the road surface may be very bumpy, but the most common mistake is that people go too quick. I shoot nearly all my tracking shots at no more than 40mph. It feels slow, but it’s the best way to get good video. Because the road is so close and you’re shooting sideways or upwards you still get a great sensation of speed.
Wheelies look great on tracking shots. Make sure the bike starts a way back, pick up the bike and let it wheelie through your shot. He then needs to put the bike down, let you pass and do it again. The camera bike can also try accelerating to stay with the bike while it wheelies, this looks awesome but it’s very hard to pull off especially with a cameraman dangling off the back!
Passing shots and action
Passing shots and action
Straight side-shots of a bike give it a sense of going somewhere. They’re also very good for showing speed if you can pan quickly enough! Try putting the camera down on the tarmac and film the bike roaring towards you and then zooming away. It gives you a wonderfully low perspective, and if you’ve got the camera on the wide-angle setting – as you should – as it goes away it becomes small very quickly. So zoom after the bike as it recedes (you’re allowed to do this now because it’s on the ground), thus keeping your shot going for longer.
If I can go up a tree, on a roof, if I can find a different angle for passing shots, I will. Once you’ve got the basics of panning down and you’re smooth, look for something different all the time. I like white lines, I’m always getting into the middle of the road to shoot a vehicle going past as the lines give the shot real perspective. Make sure there’s no other traffic about and tell your rider to pass close-by when you’re in position. It looks awesome when he comes past, and zoom after him on the exit.
On-board shooting
On-board shooting
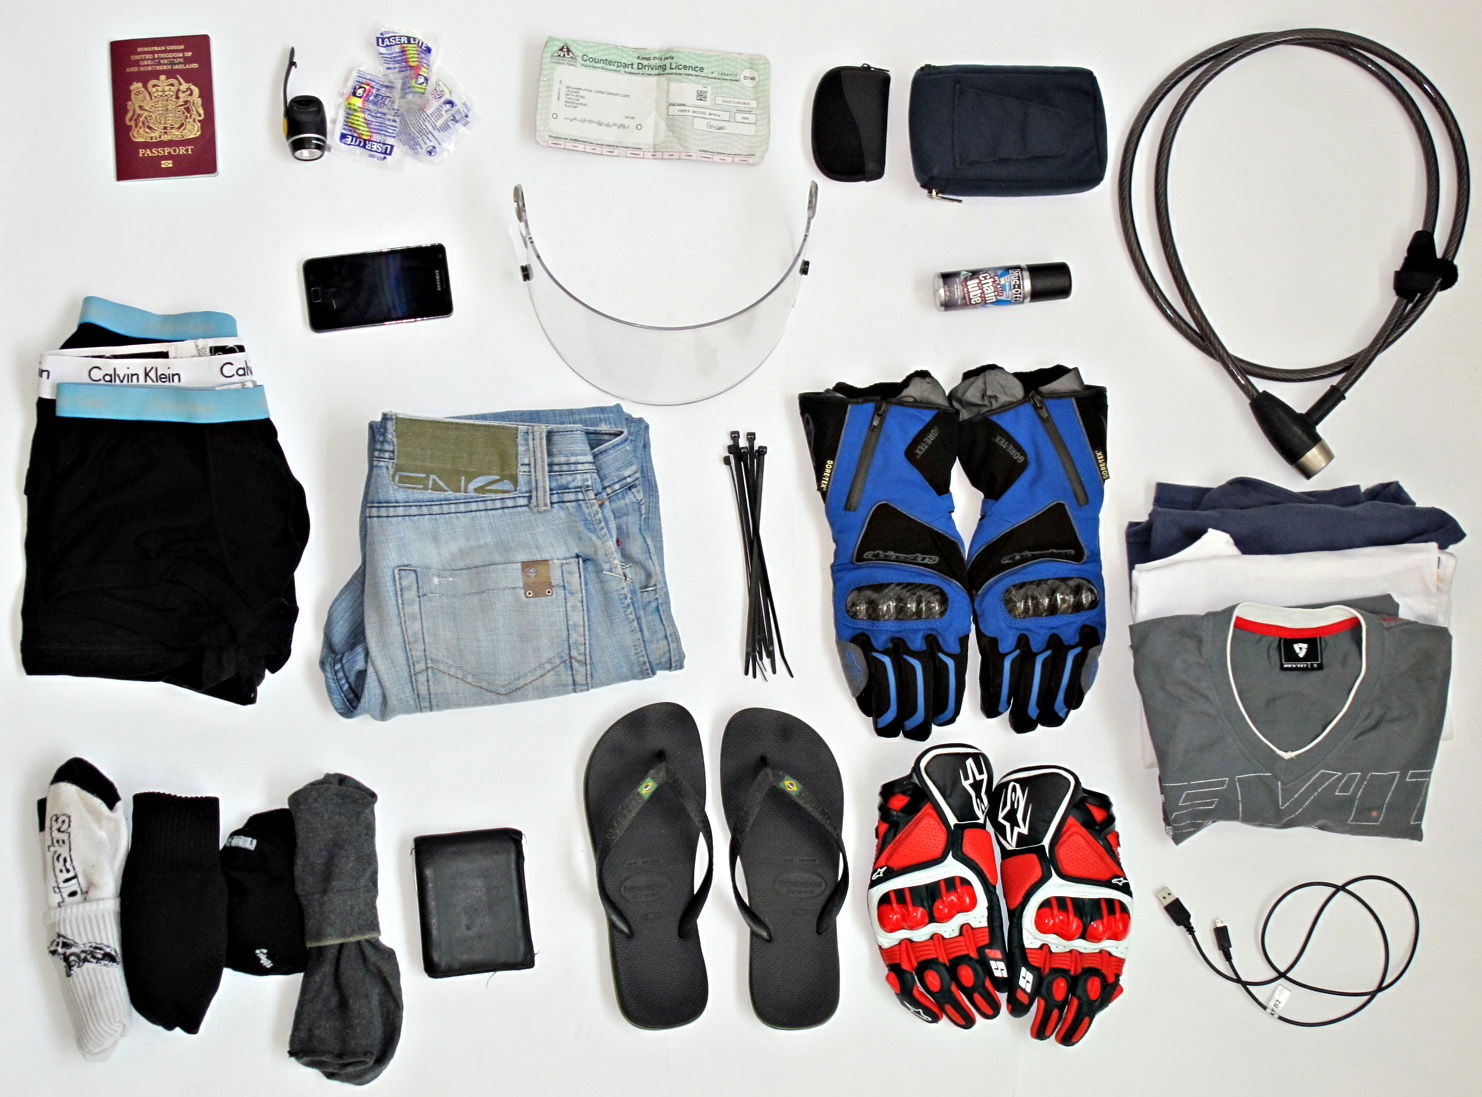
Before you shoot anything on-board, make sure you’ve got a roll of Gaffa tape and loads of zip-ties. These are the saviours of modern video work and mean you can mount your camera anywhere on the bike. Mount the camera under the right footpeg and angle it so it is looking through the front wheel. That gives a great sensation of movement.
The standard place is to mount the camera on the petrol tank looking forwards, it’s easy to mount and shows how fast you’re going. Although these days it’s an idea to tape-up the speedo! And mounting it on the rear looking back gives you an easy shot to cut to and gives a good sense of speed. Try mounting the camera on the end of a piece of bamboo or a broom handle, attach it firmly under the rear seat unit (pillion pegs are perfect) then you can get the camera away from the bike and shoot back towards it, giving really amazing angles.
For on-board wheelie shots, mount the camera facing forwards looking at the ground. When the bike wheelies you suddenly see the road ahead, and assuming the rider can keep it up for a while this shot looks really cool as you see the scenery ahead and the rotating wheel. But he’s got to be good!

