16 steps to carb cleanliness
Follow this guide to get your bike breathing easily

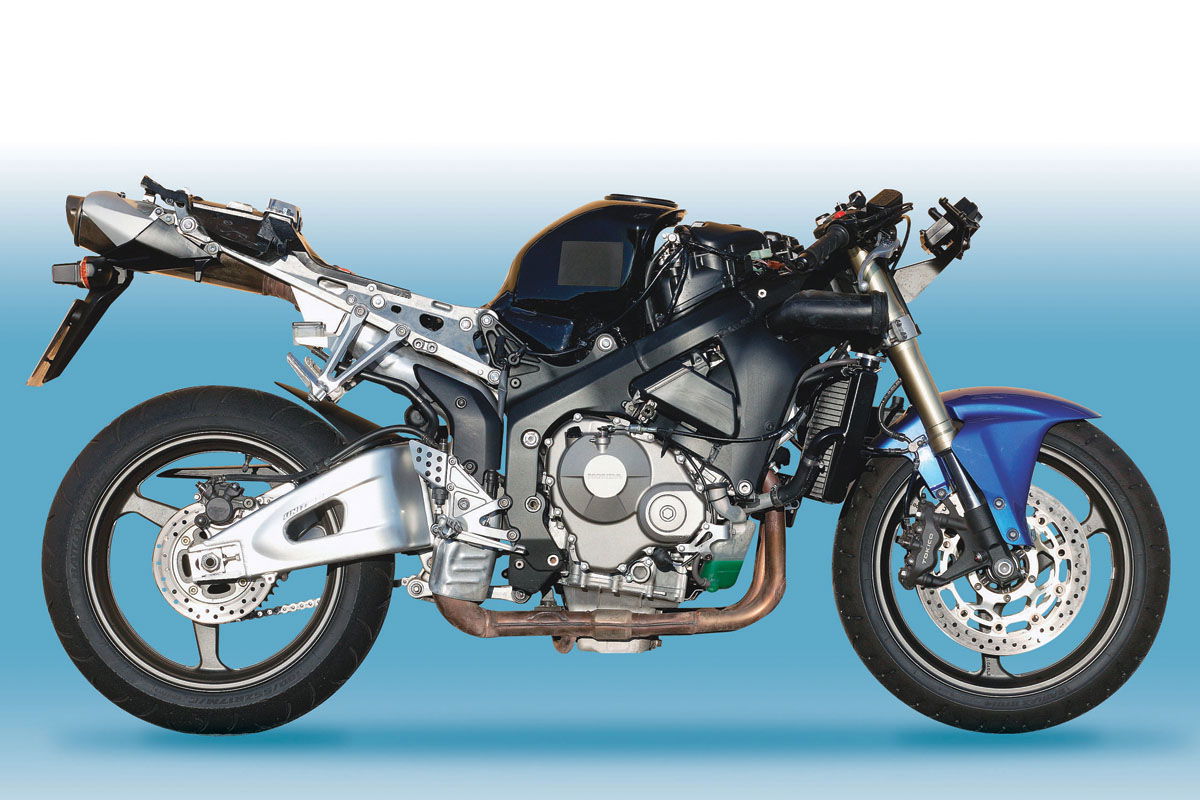
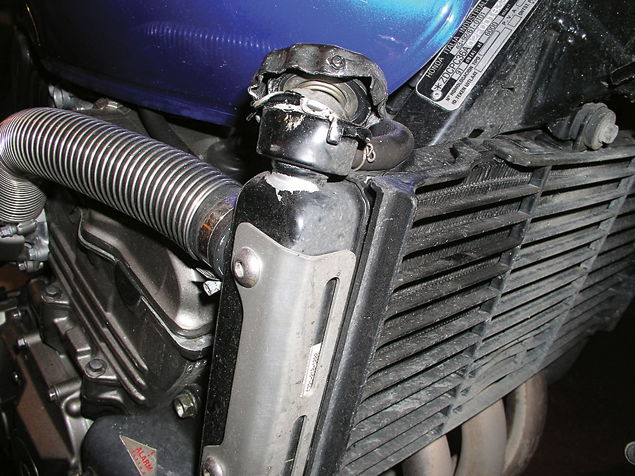
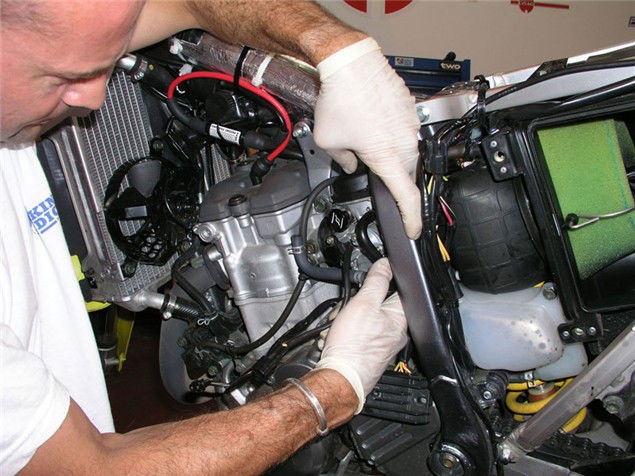
1 Get all the necessary bodywork/tank/side panels out of the way and put them somewhere safe. Now loosen the jubilee clips that hold the carb to the inlet manifold and airbox.
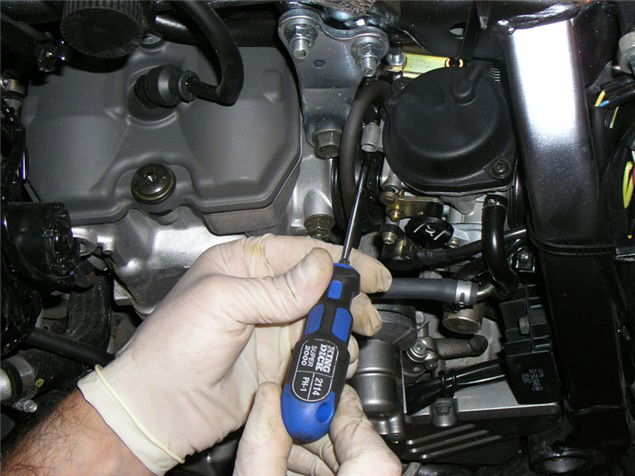
2 Undo and disconnect all the fuel lines and electrical connectors that lead to the carb. Some of the over-flow pipes may be short enough to leave connected.
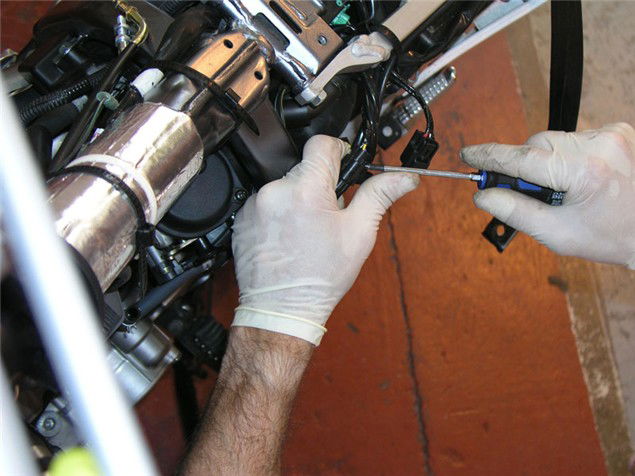
3 Drain the carb using the drain screw then disconnect the throttle cables. If you spill petrol on the floor mop it up straight away, don't have a fag and think about it!
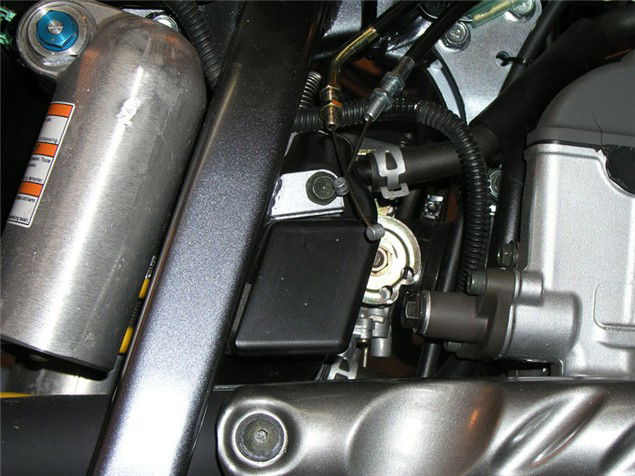
4 With a bit of effort the carb should now come out. This is usually a real fiddle so try pushing back the airbox rubber to gain a bit more room for movement. It went in so it'll come out!
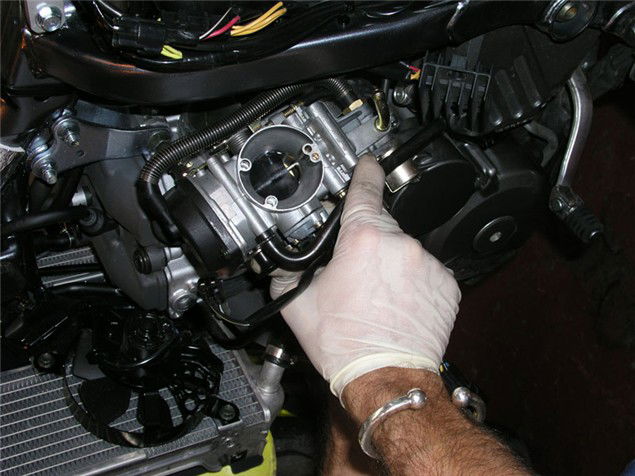
5 Right, now you have a carb. Clean a space on your work top and prepare to attack. First up give the carb a clean all over then check the movement of the slide to see it's not sticky.
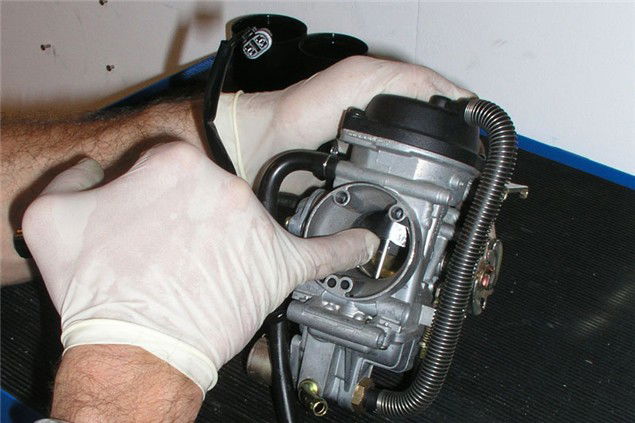
6 Assuming you have a CV carb undo the screws holding the hard plastic top on and carefully remove the rubber diaphragm. Check for tears in the rubber.
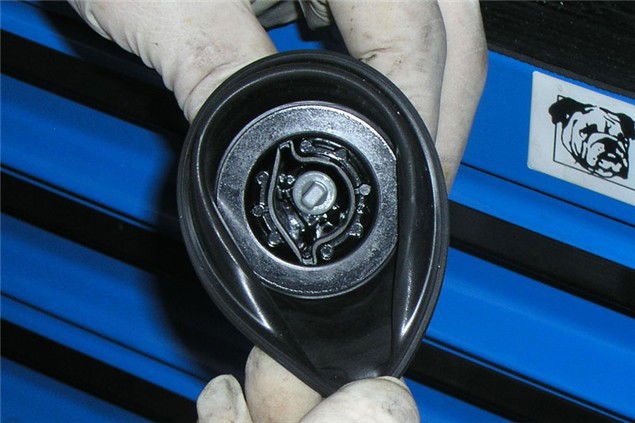
7 Turn the carb over and undo the four cross-head screws that hold the float bowl on. Take care, they are usually made of very soft metal and round easily. Clean the float bowl using carb cleaner.
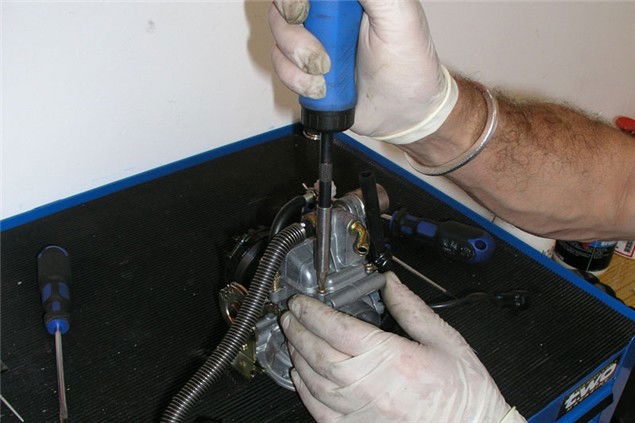
8 Check the float level. Your manual will explain exactly how to do this, the technique can vary between bikes. A Vernier gauge is the best tool but often a ruler can be used.
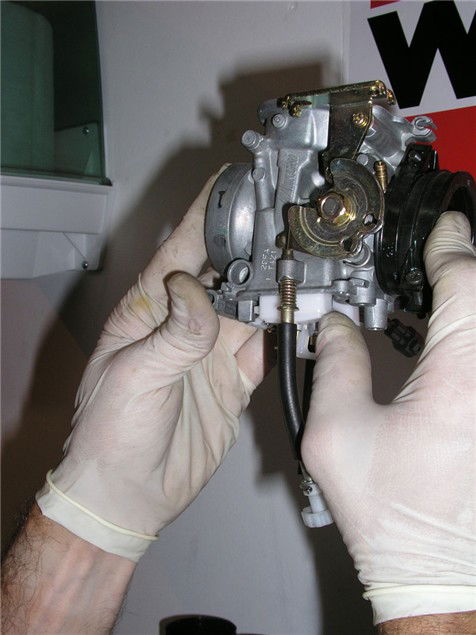
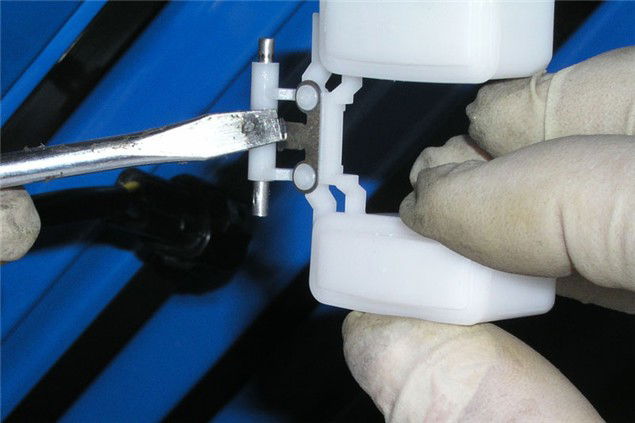
9 To adjust the float height carefully bend the metal tab using a screwdriver. Only bend it a little at a time as it can weaken. Be gentle with the floats they can be damaged easily.
10 Unscrew the main jet and check it doesn't have any dirt stuck in it. Blow through the jet then give it a squirt of carb cleaner to be sure it's clean.
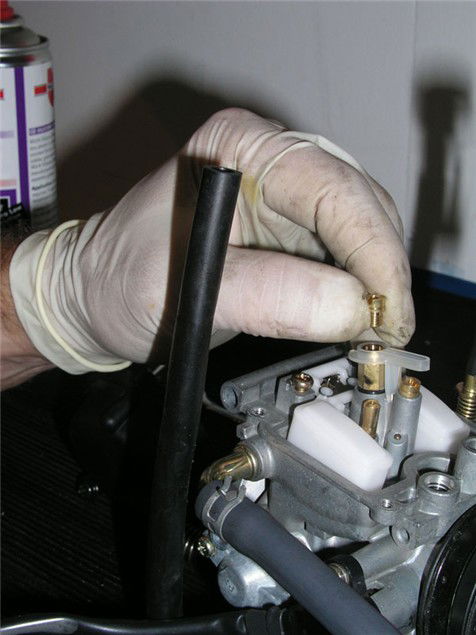
11 Unscrew and remove the primary jet and check it doesn't have any blockages. Again blow through it and give it a good clean with carb cleaner.
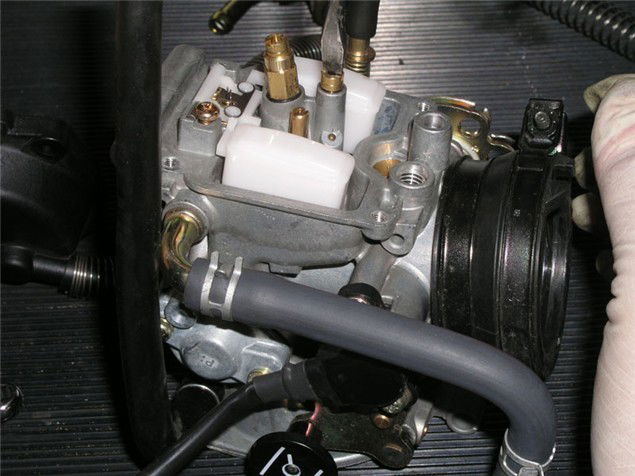
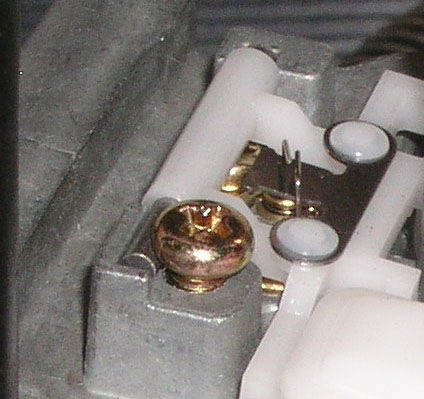
12 Take the floats off, usually a screw holds them in, and place them somewhere safe. Underneath is the needle valve, give it a good clean.
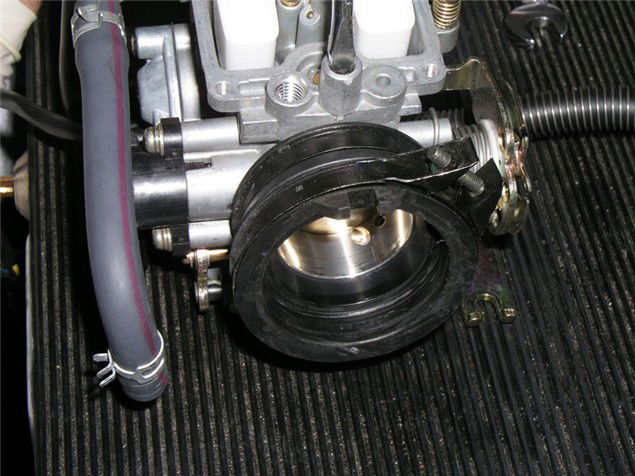
13 Check the air screw is set correctly. It is usually between one and a half and two and a half turns out from fully in. Again look in your manual.
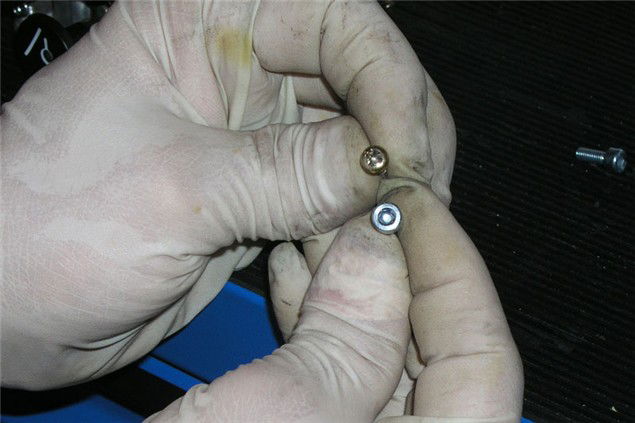
14 Put it all back together again and replace those horrible, crap cross-headed screws with decent quality Allen bolts.
15 Squirt a bit of light oil, WD-40 is perfect, on the rubbers to help ease the carb back into position. Remember lubrication is a good foundation!
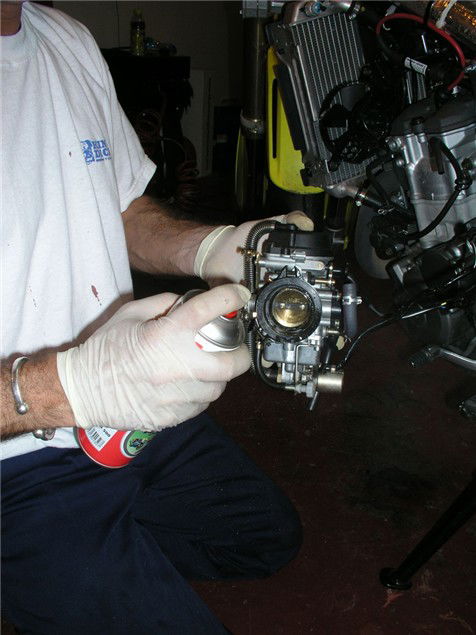
16 And back in she goes. Re-connect all the bits that you pulled off earlier and there you have it, one clean and hopefully perfectly working carb.
Sponsored By

Britain's No.1 Specialist Tools and Machinery Superstores
When it comes to buying tools and machinery, you need to know you're buying from specialists who know what they're talking about.
Machine Mart eat, sleep and breathe tools and machinery, and are constantly updating their range to give you the very best choice and value for money - all backed by expert advice from their friendly and knowledgeable staff. With superstores nationwide, a dedicated mail order department and a 24 hour website offering quality branded items at fiercely competitive prices, they should be your first choice for quality tools and equipment.
