Change your brake pads
Keep your anchors in good nick with Whitham's how-to guide on how to replace brake pads

Working on the brakes is something that a lot of people are scared of doing. And understandably so – they are pretty important after all. My golden rule when I do anything safety related is to allow plenty of time to do the job so that I do it right. If you think it’s going to take you half an hour, then double it and do it when you know that you can crack on without being disturbed. Fitting new pads is easier than you think – just take your time, be methodical and you’ll find this job a very easy one.
Step 1
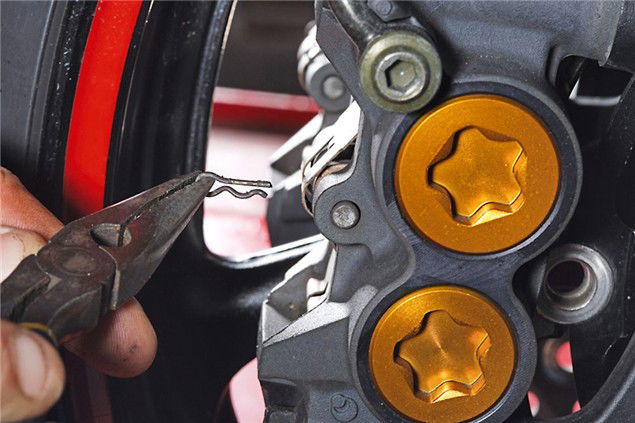
The first thing to do is have a look at how the pads are fitted into the calipers.Get the camera out and take a few reminder shots. Once you’re happy that you know where everything fits, leave the caliper in situ, bolted to the fork leg, and remove the pad retaining pins. There are two types of pins: threaded pins which screw into the caliper, and Cotter pins with ‘R’ clips. Remove the pins and clips and put somewhere safe.
Step 2
Next you need to remove the caliper from the fork leg and clean it paying particular attention to the pistons before you slide them back into the calipers. If you don’t clean the pistons first, there’s a strong chance that you’ll drag dirt in with the piston and damage the seals. Take your time here and exercise plenty of care. To clean the calipers, you can use brake cleaner or simply soap and water. Brake cleaner comes in a high-pressure spray that blasts the muck away, but hot soapy water is equally effective.
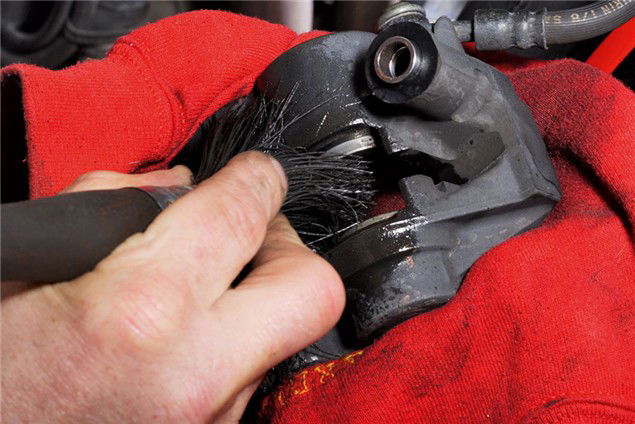
Step 3
Once you’re happy that the brake caliper is pristine, you’re ready to slide the pistons back in. Before you do this though, refit the caliper to the fork leg and use a torque wrench to tighten the bolts to manufacturer’s recommended setting.
Check the level of the brake fluid and take some out with a syringe if you need to. If the level is too high it will spill out when you push the pistons back and, if it gets onto the paintwork, can cause damage within seconds. If you do have a spill, flushing it away with cold water is the best bet – don’t rub it with a cloth as this will only make it worse.
Use a pair of water pump pliers to squeeze the old pads against the pistons. This will prevent damage to the pistons caused by levers or grips and stop them from popping out resulting in a fluid leak and the need to bleed the system through.
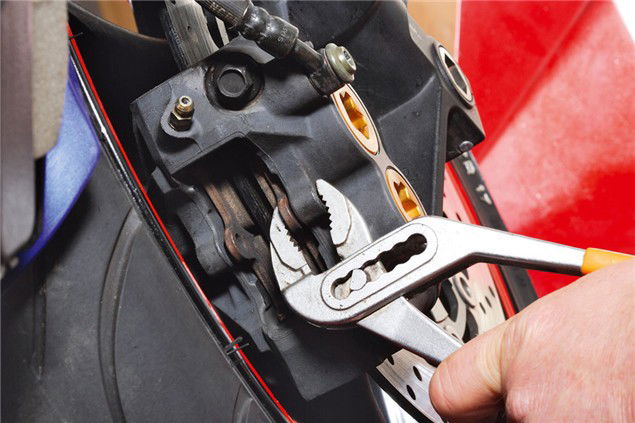
Step 4
Once the pistons have been pushed back, you’ll have room to slide the new pads in. Modern brake calipers are well-engineered units so everything should move fairly freely without the need for huge dollops of copper grease.
We use Würth brake paste on the backs and sides of the pads as well as a little on the pins but the key word here is ‘sparingly’. The last thing you want is any lubricant on the pad faces and using too much attracts grit and dirt, which pretty much defeats the objective of the exercise.
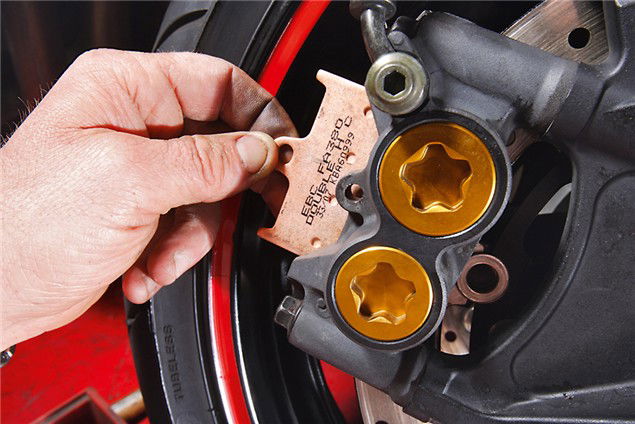
Step 5
Now’s the time that you’ll be glad that you took all those pictures. Refit the anti-rattle spring and retaining pins to the caliper making sure that everything is fitted correctly and with any direction arrows pointing the right way. Now double check. Gently squeeze the brake lever a few times to get the pads firmly up against the brake disc.
Try not to pull the lever all the way back to the bar and don’t pump it too quickly – that’s the best way to pop the seals out of a brake master cylinder.
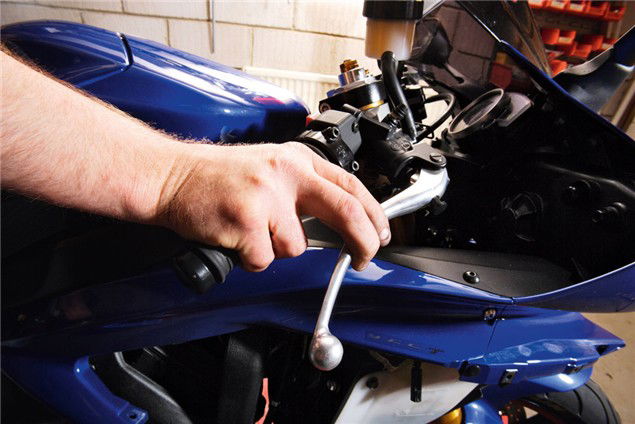
Step 6
Repeat steps one to five on the opposing caliper and remember afterwards to check the fluid level. Take the bike for a test ride to bed the pads in but don’t drag the brakes like some ‘experts’ suggest – all this will do is glaze the friction material and make the brakes less effective, just ride steadily until the pad face has bedded into the disc and that’s it, job done. Happy braking.
Sponsored By

Britain's No.1 Specialist Tools and Machinery Superstores
When it comes to buying tools and machinery, you need to know you're buying from specialists who know what they're talking about.
Machine Mart eat, sleep and breathe tools and machinery, and are constantly updating their range to give you the very best choice and value for money - all backed by expert advice from their friendly and knowledgeable staff. With superstores nationwide, a dedicated mail order department and a 24 hour website offering quality branded items at fiercely competitive prices, they should be your first choice for quality tools and equipment.
