How to… clean your carburettors
Keep your old-school fueller running sweetly
By Alan Dowds
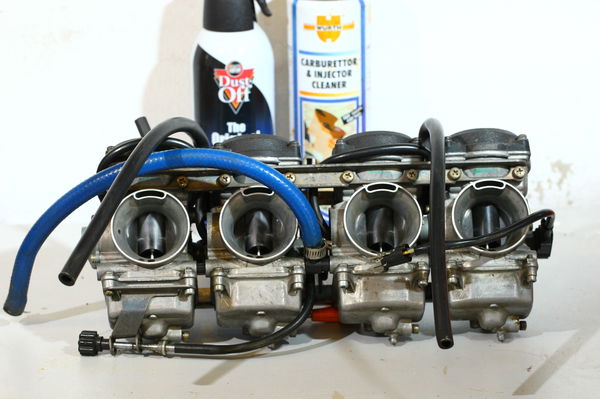
FUEL injection might have taken over from carbs for more than 15 years now. But the retro boom means the old-school fuellers are still pretty common on the roads. They're a reliable, well-proven technology of course, and nine times out of ten, any running problem are down to something else. One of the biggest problems is dirt clogging the tiny orifices inside them. A good strip and clean is the answer. Here's how...
1. Get 'em off
Before you start, turn off the fuel tap, and drain what fuel is in the carbs from each of the drain screws on the bottom. Then loosen the inlet rubber clamps, and remove any springs or clips holding the carbs in place.
Half the battle with old inline fours in particular is getting the buggers out. On Kawasaki GPzs and the like, they're crammed in between the cylinder head and the frame tubes, held in by rubber tubes. Like Tory politicians, these get hard and inflexible with age, so it can be a real swine of a job getting them out. And it if is, getting them back in will be twice as hard. Consider splashing out for new inlet rubbers if they're really bad.
Warming the rubber tubes with a hairdryer can help reintroduce a bit of flex into them, making them easier to refit.
2. Stripping the top half
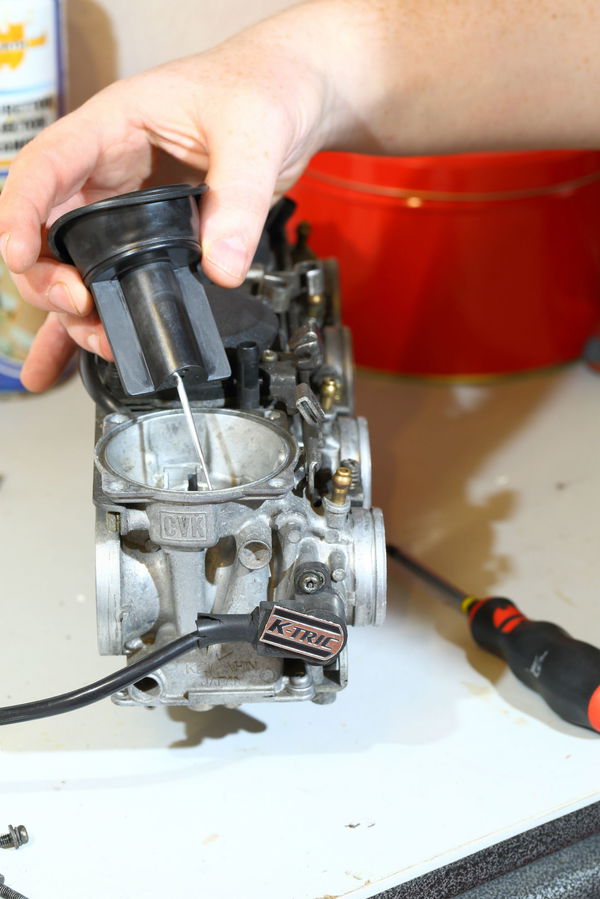
On a typical bank of CV carbs, you can start with the top part. Unscrew the four screws, using a well-fitting crosshead driver. Careful not to strip any heads now… Once loose, the top lid should come off and there'll be a spring, a piston with a needle on the bottom, and an attached rubber diaphragm. Put these carefully to one side, after checking the diaphragm for any holes, and the needle for any unusual wear or dirt.
3. Doing the bottom half
If you do one carb at a time, you don't get any parts mixed up. So turn the bank over, and remove the screws holding the float bowl on. Again, be careful not to damage the heads. Carefully lift the bowl off and away, checking inside for any dirt or sediment, and the gasket for leaks or damage.
Now you can remove the jets. These are the brass parts, with a screw head, or a hex for a spanner. The usual setup is a large central main jet, which screws into the needle jet, and then a pilot jet to one side. Carefully loosen and remove them all, noting where they all go. You'll also have the air screws outside the float bowl, which can be removed too. These have a spring inside, so watch for that.
Last thing is the float: make sure it's not damaged or leaking fuel inside. Take it out, and check the float needle is clean and unworn. There may be small gauze filters here: take them out and check/clean these.
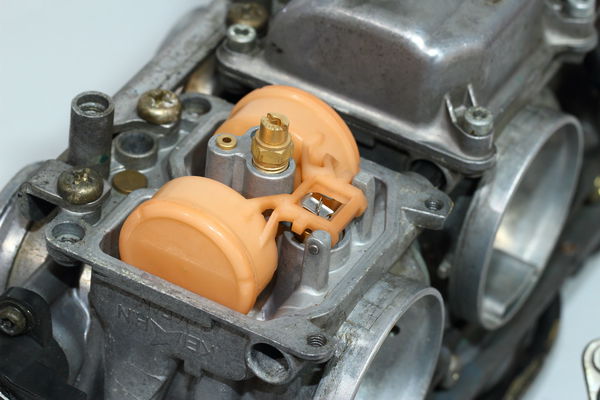
4. Cleaning the innards
Using plenty of carburetor or brake cleaner, give the jets a good old clean through. Look for any blocked holes, corrosion, or gunge. Avoid poking anything hard down the jets: they're precision parts, and a metal needle or the like will ruin their shape and cause poor running. If the cleaning solvents can’t shift some dirt, you might be able to use a soft nylon filament from a brush or something similar. Be careful though.
Some people swear by ultrasonic cleaning tanks for these jobs, so they’re worth considering if you have a lot of work like this ahead of you.
When it's all gleaming and all the holes are clear, refit them the way they came out. Refit the top half of the carb, and then move onto the next one.
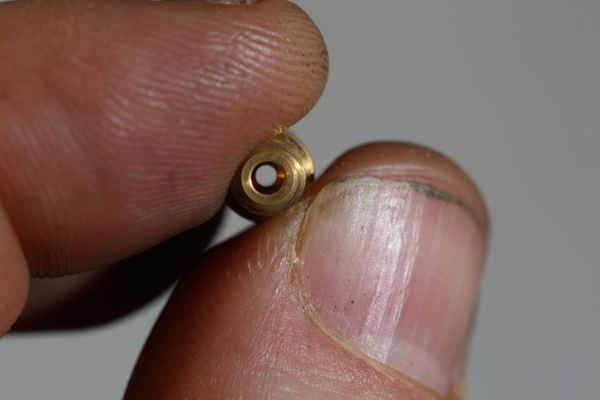
5. Slide carbs
You'll find slide carbs instead of CV carbs on old two-strokes, and ancient four-strokes, as well as some race-reps like the ZXR750R. The bottom end is much the same, with float bowl and jets, but the top end replaces the spring/diaphragm piston setup with a mechanically operated piston valve. Check the mechanism is clean, lubed and adjusted, examine the needle for wear, and do the bottom end as before.
