How to... fit new clip-on motorcycle handlebars
Fed up with your motorcycle's riding position? Then change it.
Words and pictures: Alan Dowds
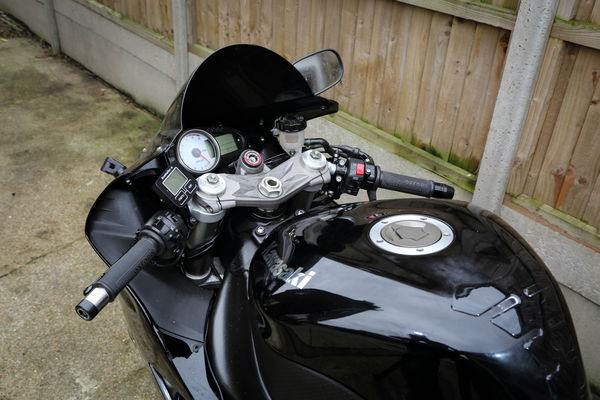
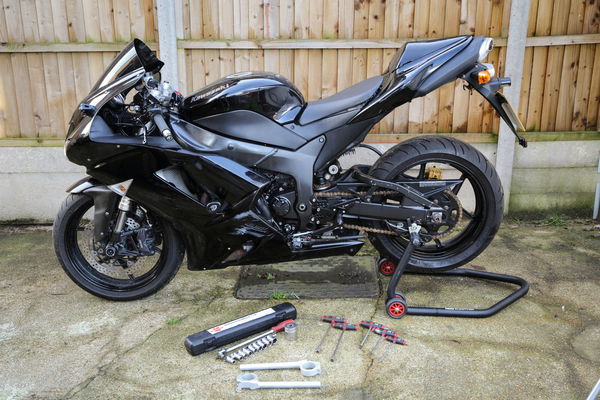
THERE are times when you may need to fettle with your handlebars. The obvious one is if you have had a whoopsie and broken or bent one in a crash. But you can also swap them for new ones to alter your riding position and make your bike sportier of more comfortable. That's what we're doing here – fitting Helibars to a 2008 Kawasaki ZX-6R. These £340 bars are slightly wider and higher, and reach further back, so they give a more relaxed riding position without radically altering the bike's character: an essential modification for those of us approaching decrepitude. There are often cheaper ways of achieving a similar result, by using bars from another bike model, but you'll have to do some research on forums to find out what fits.
1: Get set
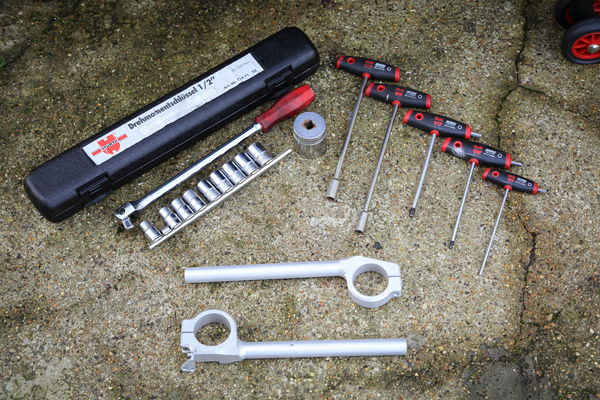
As usual, this stuff is often easier with the bike up on stable stands, though it's not essential. Check you have all the tools needed - big socket for the steering stem nut, Allen bits or sockets for the top fork pinch bolts, screwdrivers for the switchgear. A torque wrench is also recommended: steering is serious stuff. Overtightening could wreck bearings. Equally, you don’t want anything coming loose.
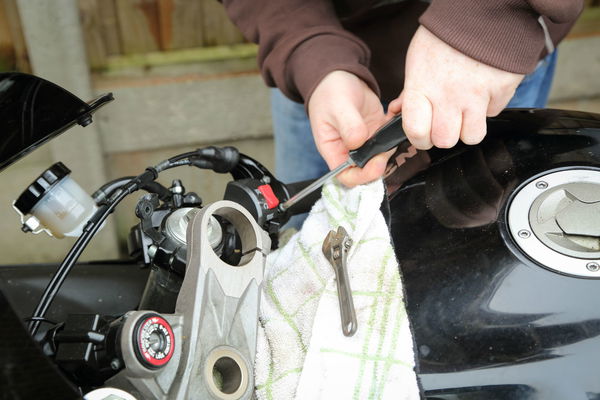
Remove the bar end weights, unscrew the steering stem nut, and loosen the pinch bolts clamping the top yoke onto the fork legs. A couple of small bolts underneath the yoke locate it onto the bars, so remove these, and any other bits like brake reservoirs that will get in the way. Lift the yoke off – it might need a bit of a tap with a mallet – and sit it carefully on the tank, on top of a folded cloth to protect the paint.
We need to remove all the hardware from the old bars – switches, throttle twistgrip and brake lever on the right, and grip, switches and clutch lever on the left. The left-hand grip might be fiddly to remove – you need to break the glue bond holding it on. Slip a thin screwdriver in and slide it round to do this, and gradually slide the grip off.
Unbolt the clip-on clamp bolts, and lift the bars up and off the fork leg.
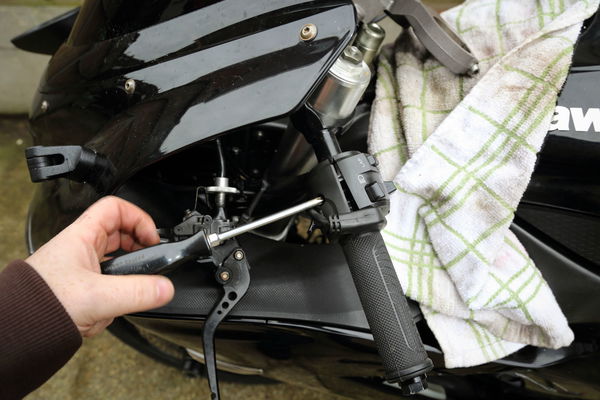
Get the new bars, and fit them one at a time onto each fork leg, tightening the pinch bolts with your fingers to hold everything in place for the moment. Then refit all the hardware: switchgear, twistgrip, brake and clutch lever, and refit the clutch side grip with some fresh grip glue. Put the bar end weights back on.
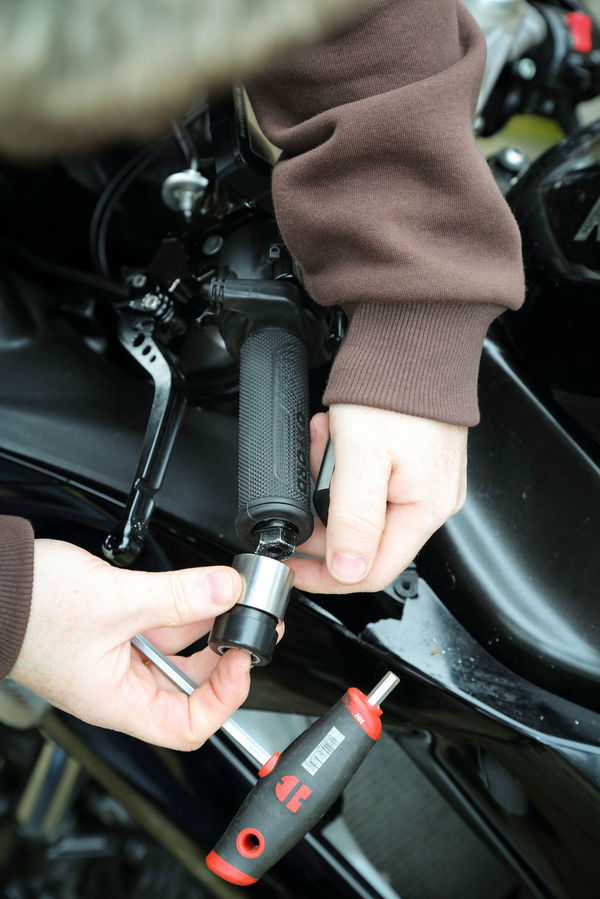
Once the hardware is all in place, refit the top yoke, with any other brackets or bits you had to take off it. Tighten the steering stem nut to the correct torque, taken from the owner's manual, and check the bars' position to make sure they're in the right place. Then tighten all the pinch bolts to the right torque settings. Finally, make sure the steering can move smoothly from side to side, without touching the tank, and with nothing binding or getting stuck or snagged. You're done! Now go for a more comfortable ride.

Click here for more Visordown how-to guides.


